At Utah Playset Builders, we know how exciting it is to have a gorilla Playset for your family, but the assembly can be daunting. That’s why we’ve put together this detailed step-by-step guide. Here, we’ll walk you through the process to make it as straightforward and fun as possible. Let’s get started!
Contents
Gathering Your Tools and Materials
Before diving into the assembly, it’s crucial to gather all the necessary tools and materials. Having everything on hand can save you time and stress.
Ensure you have a standard toolkit including essential items like a tape measure, screwdrivers, and wrenches. Don’t forget safety equipment like gloves and safety glasses.
It’s also a good idea to organize your materials in a designated area, so you’re not scrambling around to find what you need. Trust us, it makes the process so much smoother!
Reading the Instruction Manual
This part may seem obvious, but you’d be surprised how many people skip it. Take the time to thoroughly read the instruction manual before beginning.
The manual will give you an overview of what to expect and identify any complex steps ahead of time. Highlighting key sections can also be very helpful.
If you’re more of a visual learner, look for online video tutorials. They can offer additional clarity and tips.
Prepping the Assembly Site
Picking the right spot for your playset is pivotal. You’ll want an area that’s safe and spacious.
Ideally, find a flat, level surface that is free from obstructions like trees or rocks. A clear area will make the assembly easier and safer.
Additionally, verify the ground is solid to ensure stability. You might need to level it out or lay down a weed barrier to prepare the perfect site.
<
Sorting and Organizing Parts
Once you’ve prepped your site, the next step is to sort and organize all the parts.
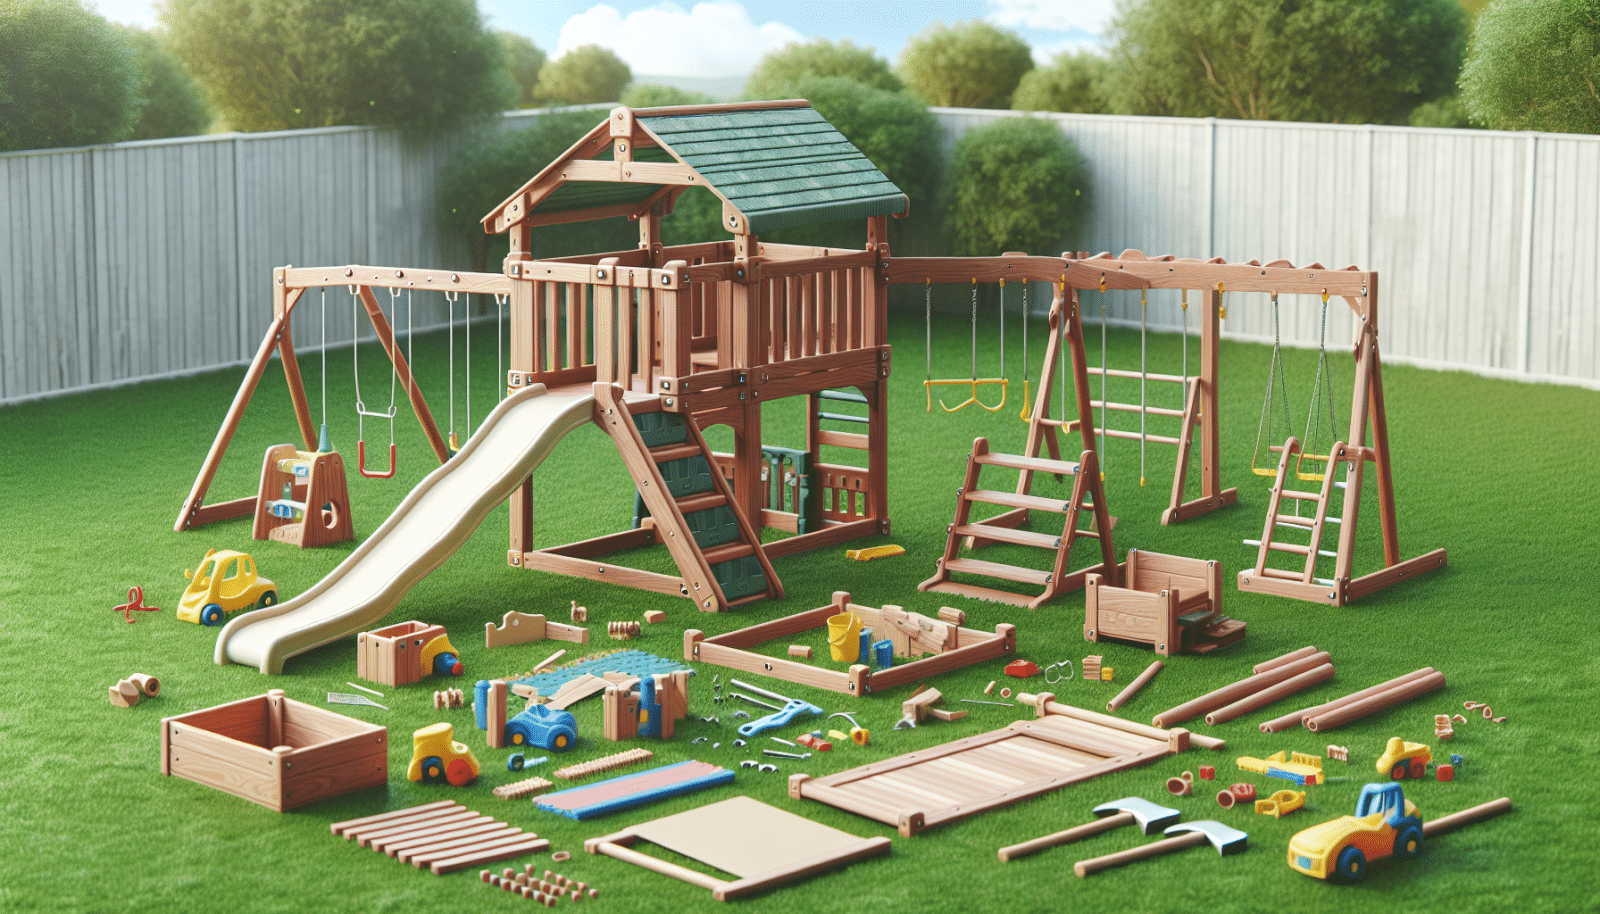
Lay out all the pieces on the ground and group them by type or size. This organization will make it quicker to find what you need as you assemble the playset.
You might also want to label the parts with sticky notes or markers to avoid confusion during assembly. Being organized from the start will save you a lot of headaches.
Assembling the Main Frame
Now, the real fun begins! Start assembling the main frame of your Gorilla Playset.
Follow the instructions closely, taking it step-by-step. Usually, this involves putting together the base and vertical supports first. Use the appropriate tools and hardware as recommended.
Don’t rush this part. Ensuring the main frame is secure and level sets a strong foundation for the rest of the playset.
Installing the Swing Beams
Next, it’s time to install the swing beams. This is where the excitement builds up.
- Attach the Beams: Use the bolts and brackets provided to firmly attach the swing beams to the main frame. Double-check that they are level and secure.
- Secure Swing Hangers: Place swing hangers at the designated spots on the beams, making sure they are evenly spaced. These are key to keeping the swings secure.
- Add Swings: Hook each swing onto the hangers, ensuring they are at an appropriate height for children to use safely.
- Test Stability: Give each swing a gentle pull to test its stability. Adjustments might be necessary to ensure they are securely attached.
- Safety Check: Conduct a final safety check to confirm everything is tightly attached and stable before allowing children to play on it.
Installing the Slide
One of the most exciting parts of any playset is the slide! Here’s how to install it.
Position the slide in its designated spot, making sure it’s secure and evenly placed on the ground. Use the provided hardware to attach it firmly to the main frame.
After attaching, test the slide for stability. Ensure that it’s securely fastened and aligned correctly to prevent any accidents.
Adding Extra Features
Your Gorilla Playset probably comes with some awesome extra features. These could be things like monkey bars, a rock wall, or other fun additions.
Follow the manual closely to install any extra features safely and effectively. Each feature usually comes with its own hardware, so make sure you use the right pieces.
By adding these features, you’re not just enhancing the playset; you’re creating an adventure zone that the kids will love.
Final Safety Checks
Safety first! Before you let the kids loose on their new playset, make sure everything is safe and secure.
Go over each bolt, screw, and piece of equipment to ensure they are tightly secured. Check for any sharp edges or protruding parts that could cause injuries.
It’s also wise to give the entire playset a gentle shake. If anything feels unstable, take the time to tighten or adjust as needed.
Maintenance Tips
Congratulations! Your playset is up and ready for fun. But, to keep it in top shape, regular maintenance is essential.
- Inspect Regularly: Make a routine to inspect the playset every few months for any wear and tear. Address any issues immediately to prevent accidents.
- Clean: Keep the playset clean by washing it down with water and mild soap. This will also help you spot any potential problems.
- Re-tighten Bolts: Bolts and screws can loosen over time. Regularly re-tighten them to ensure everything remains secure.
- Check Grounding: Make sure the ground around the playset remains level and solid. If needed, re-level the ground to maintain stability.
- Weatherproofing: Apply a sealant or protective coating to wooden parts to shield against weather conditions and prolong the life of the playset.
Assembling a Gorilla Playset can seem like a massive task, but with this step-by-step guide, we hope to make it much easier and more enjoyable for you. If you have any questions or need professional help, contact us at Utah Playset Builders by phone # 801-405-3954 or request a free quote.
