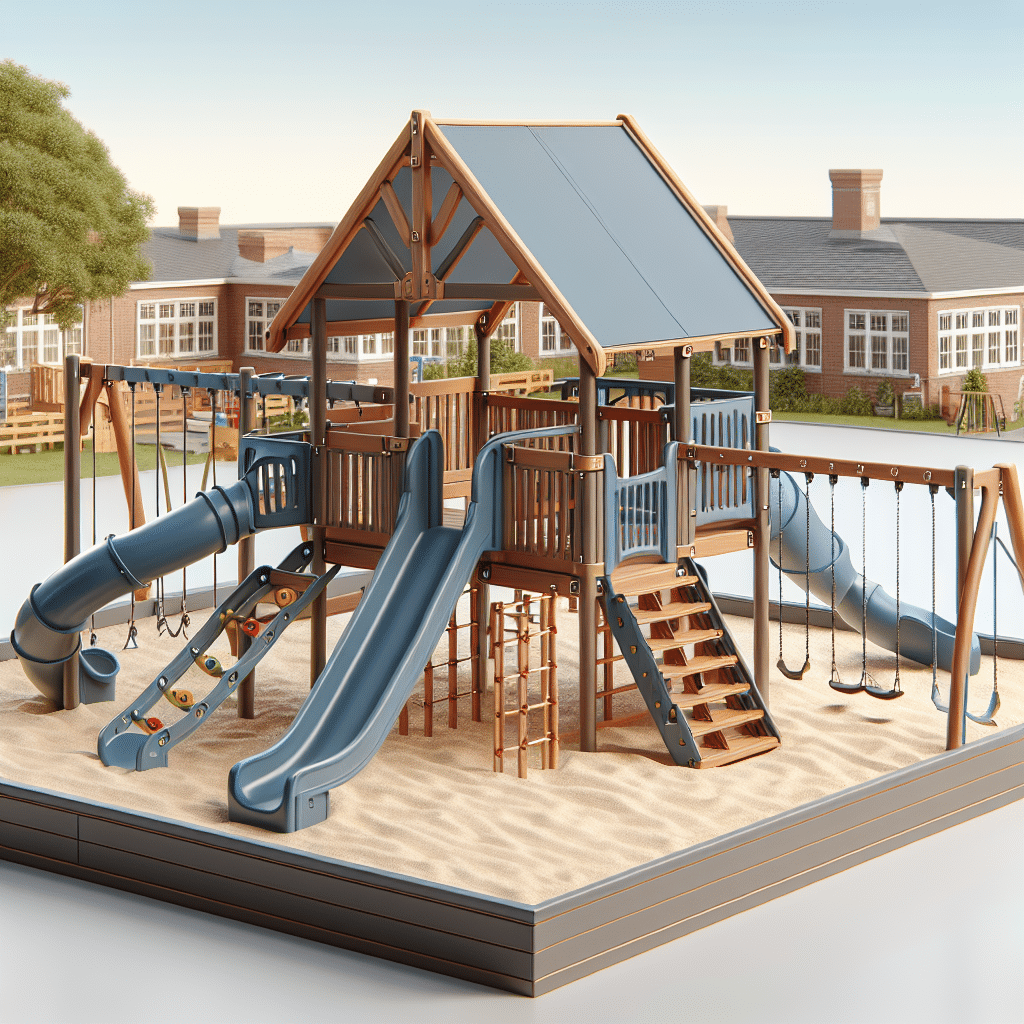
Creating a playset for a school playground can be quite the adventure, can’t it? Many school administrators find it tricky, but that’s where we come in! At Utah Playset Builders, we make assembling playsets a breeze, turning daunting tasks into delightful experiences. In this article, we’ll guide you through the process of putting together the perfect playground, ensuring that every child enjoys a safe and thrilling space to play.
Contents
Choosing the Right Playset
Selecting the right playset is like picking out the best candy from a store. It’s fun, but there’s a lot to consider! First, think about the age range of the children using the playground. You’ll want something suitable for everyone. Moreover, consider the materials and durability. After all, a sturdy playset means lasting joy for years to come.
Lastly, remember that safety is paramount. Opt for designs that minimize injury risks, with smooth edges and non-toxic finishes. By focusing on these aspects, you’re already setting the stage for a successful assembly process.
Preparing the Site
Once you’ve chosen the perfect playset, it’s time to get the site ready. Start by selecting a flat, spacious area that accommodates the playset size and allows for future expansion. After all, you never know when the school might want to add more fun features!
Next, clear the area of any debris or obstacles. This ensures a smooth assembly process and provides a safe play environment for the kids. Don’t forget to mark the boundaries for installation. This helps in planning the layout and aligning the playset correctly.
Gathering Your Tools
Having the right tools on hand is essential to the assembly process. Without them, even the smallest task can become a challenge. Here’s a handy list of must-have tools: wrenches, screwdrivers, hammers, and levels.
Additionally, consider power tools like a cordless drill for faster assembly. Remember to check the instruction manual provided with your playset for any specific tools required. Having everything ready will make the assembly process smoother and more efficient.
Understanding the Instructions
Once you’re equipped with tools, it’s time to dive into the instructions. This step is crucial to ensure that the playset is built correctly. Take a moment to familiarize yourself with the manual. Look for diagrams and illustrations that can guide you through the process.
Moreover, check if there are any pre-assembly requirements, such as treating the wood or prepping parts beforehand. Understanding these details ahead of time can save you a lot of trouble later on.
Assembling the Base
The base of the playset is like the foundation of a house. Get this right, and you’re halfway there! Begin by laying out the main beams and connectors. Often, this involves creating a sturdy rectangle or square that will support the entire structure.
After that, use a level to make sure everything is even. An uneven base can lead to a wobbly playset, which isn’t safe for play. Secure all parts tightly to avoid any accidents once kids start playing.
Building the Framework
With the base in place, the next step is assembling the framework. This is where your playset begins to take shape. Begin by attaching the vertical posts, ensuring they are securely fastened to the base. These will support everything from swings to slides.
Next, add the horizontal beams, making sure they’re level. This is important for both safety and structural integrity. Follow the instruction manual closely to ensure that all parts are installed in the correct order.
Installing the Features
Here’s where the fun really begins: installing slides, swings, and climbing walls. Let’s break it down with a bullet list.
- Slides: Install these first, aligning them with the opening you choose on the playset for smooth sliding adventures.
- Swings: Attach the swing hangers securely to the horizontal beams, ensuring they are evenly spaced.
- Climbing Walls: These can go on any open side. Make sure the climbing holds are securely fastened for safe scaling.
- Rooftops: Add these to provide shade and additional safety, making sure they’re firmly attached to avoid any toppling hazards.
- Ropes and Ladders: Secure these on the sides for varied climbing, double-checking the knots and fasteners.
Safety Checks
Now that everything’s installed, it’s time for an essential safety check. Walk around the playset, looking for any loose screws or bolts. Give the structure a gentle shake to ensure it’s stable.
Furthermore, test each feature — swings, slides, and ladders — to make sure they’re secure and functioning as expected. These checks are vital to prevent injuries and provide peace of mind for everyone involved.
Adding the Finishing Touches
You’re almost there! The last step is adding final touches like signs, rules, or decoration. Even a splash of color can make the playset more inviting. Consider installing weather-resistant seating for supervisors to watch the kids play.
Additionally, think about soft surfacing like rubber mats or sand to cushion any falls. These additions not only enhance safety but also improve the overall play experience.
Maintenance Tips
Congratulations, your playset is up and running! But like any masterpiece, it requires a bit of upkeep. Regularly inspect the playset for wear and tear, replacing any damaged parts promptly.
Moreover, keep an eye on the ground surfacing to ensure it remains even and cushioned. A well-maintained playset promises endless fun and reduces safety risks, ensuring that the laughter never stops on the playground.
Building a playset is an exciting journey, and we’re thrilled to be part of it with you. If you’re ready to start your own project, contact us at 801-405-3954 or request a free quote today.


