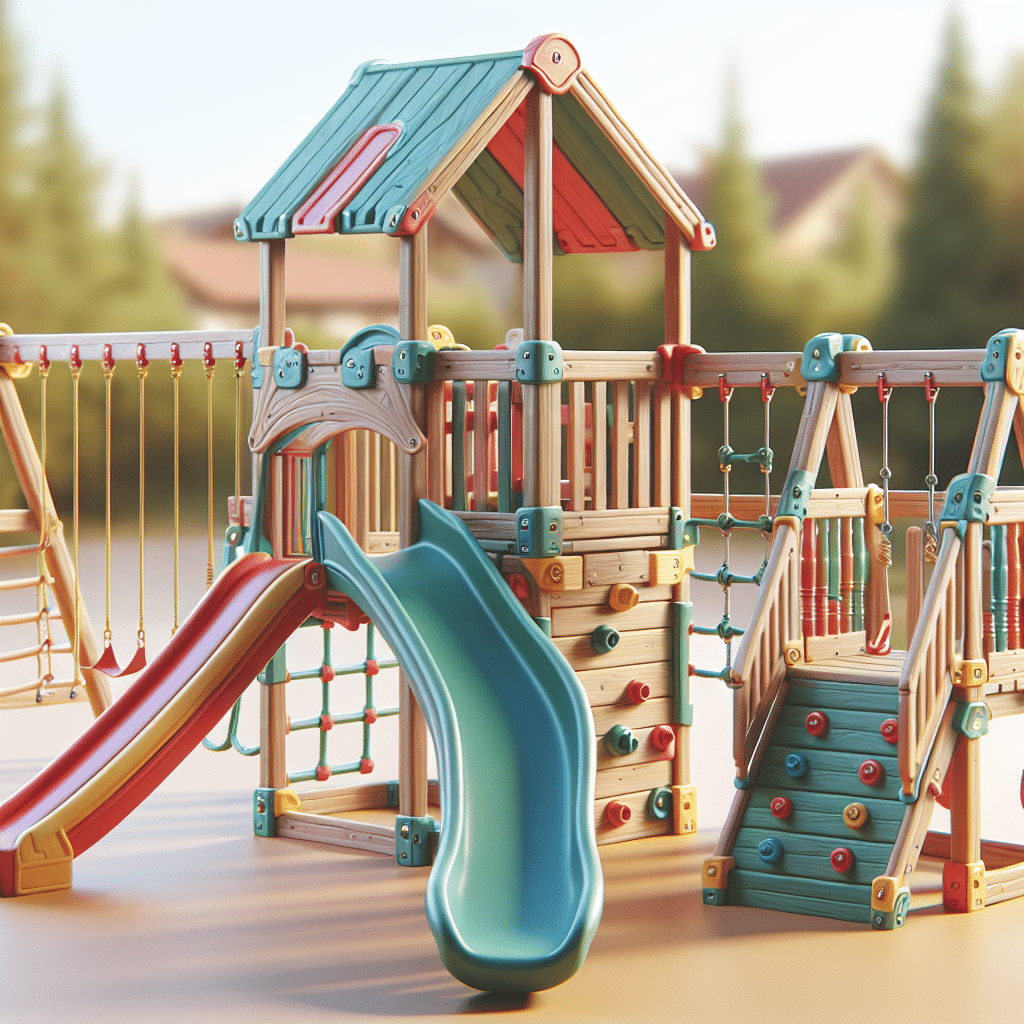
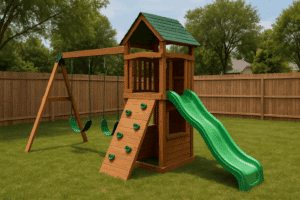
At Utah Playset Builders, we know that assembling a backyard discovery playset can feel like a daunting task. With so many pieces and instructions, it’s easy to feel overwhelmed. But fear not, homeowners! This article is crafted to make assembly as fun and straightforward as possible. Join us as we unravel tips and tricks that will transform this challenge into a rewarding experience for you and your family.
Contents
Preparation is Key
Before diving into the assembly, proper preparation can save time and reduce stress. Start by organizing your workspace where the playset will be assembled. Choose a flat, open area that offers plenty of room to lay out all the pieces and tools you’ll need. Adequate space will eliminate unnecessary obstacles and promote efficient assembly.
Next, take the time to familiarize yourself with the instruction manual. Although it may seem tedious, understanding the step-by-step guide will provide clarity and minimize errors. Trust us, a little preparation goes a long way in turning the playset assembly into a seamless process.
Gather Your Tools
To ensure a smooth assembly, having the right tools on hand is crucial. It’s worth checking if any specific tools are mentioned in the manual. Typically, you’ll need a hammer, screwdriver, wrench, measuring tape, and possibly a power drill. Make sure all tools are functional and within reach before you start.
Equipping yourself with the necessary tools not only speeds up the process but also enhances the accuracy of your assembly. A well-equipped toolbox can be your best ally in this DIY project.
Sorting and Inventory
Before piecing together your Backyard Discovery playset, it’s essential to sort and take inventory of all components. This can prevent hiccups along the way.
Organize all the parts by size and type, and double-check them against the parts list in the manual. Missing or mismatched pieces can disrupt your progress, so ensure everything is accounted for before you begin.
Start with the Base
Building a solid foundation is critical for the stability of your playset. Begin by assembling the base. Carefully follow the instructions, ensuring all bolts and screws are tightly secured.
Starting with the base sets the stage for a sturdy and safe playset. It’s the backbone of your structure, and proper alignment here will simplify the rest of the assembly.
Assemble in Sections
Breaking down the assembly into smaller sections can make the task more manageable. Focus on constructing one part at a time, such as the tower or beams.
Completing one section before moving to the next helps avoid confusion and reduces the chances of errors. It’s like assembling a puzzle one piece at a time, each section contributing to the complete picture.
Readjust and Recheck
Once a section is assembled, it’s vital to readjust and recheck each connection and alignment. Loose bolts or misaligned parts can compromise safety and function.
Tighten all screws and bolts and apply force to test stability. Regularly rechecking as you go ensures that the final structure is both safe and secure for play.
Safety First
Safety is a top priority throughout the assembly process. During construction, always follow safety tips such as wearing gloves and protective eyewear, especially when using tools.
Ensure the playset is installed on a safe surface like grass or mulch to cushion any potential falls. By prioritizing safety, you ensure peace of mind while your children enjoy their new playset.
Bring Your Team Together
Playset assembly can be a formidable task for one person, so why not make it a team effort? Involve family or friends in the process for effective collaboration.
Having an extra set of hands provides support for lifting heavy parts and aligning structures. Plus, teamwork adds an element of fun to the project.
Five Common Assembly Mistakes: Avoid Them
- Skipping the Manual: The urge to go freestyle might be high, but skipping instructions can lead to costly mistakes. Always refer to your manual to stay on track.
- Rushing the Process: Speeding through assembly might seem appealing, but patience ensures each step is completed accurately and safely.
- Incorrect Tool Usage: Using the wrong tools can damage parts and delay progress. Stick with recommended tools for optimal results.
- Overlooking Safety Checks: Failing to check for stability and alignment can endanger users. Regular checks ensure your playset remains secure.
- Ignoring Ground Surface: Installing on an uneven surface can lead to instability. Always choose a level, safe spot for placement.
Finishing Touches
With the bulk of the assembly complete, it’s time for the finishing touches. This is where you add any additional features, such as swings or slides, as specified in the manual.
Enhance the aesthetic by considering protective treatments or decorative accents. These small additions customize the playset and prepare it for endless hours of fun.
Ready, Set, Play!
Congratulations, your playset is finally ready for action! Now all that’s left is for the kids to enjoy their new backyard adventure hub.
Share memories and laughter as your children embark on imaginative journeys right in your backyard. Your effort and dedication have transformed a simple space into a playground wonderland.
Wrapping up, assembling a Backyard Discovery playset can be a delightful experience with the right approach. For professional assistance, contact us at 801-405-3954 or request a free quote.


