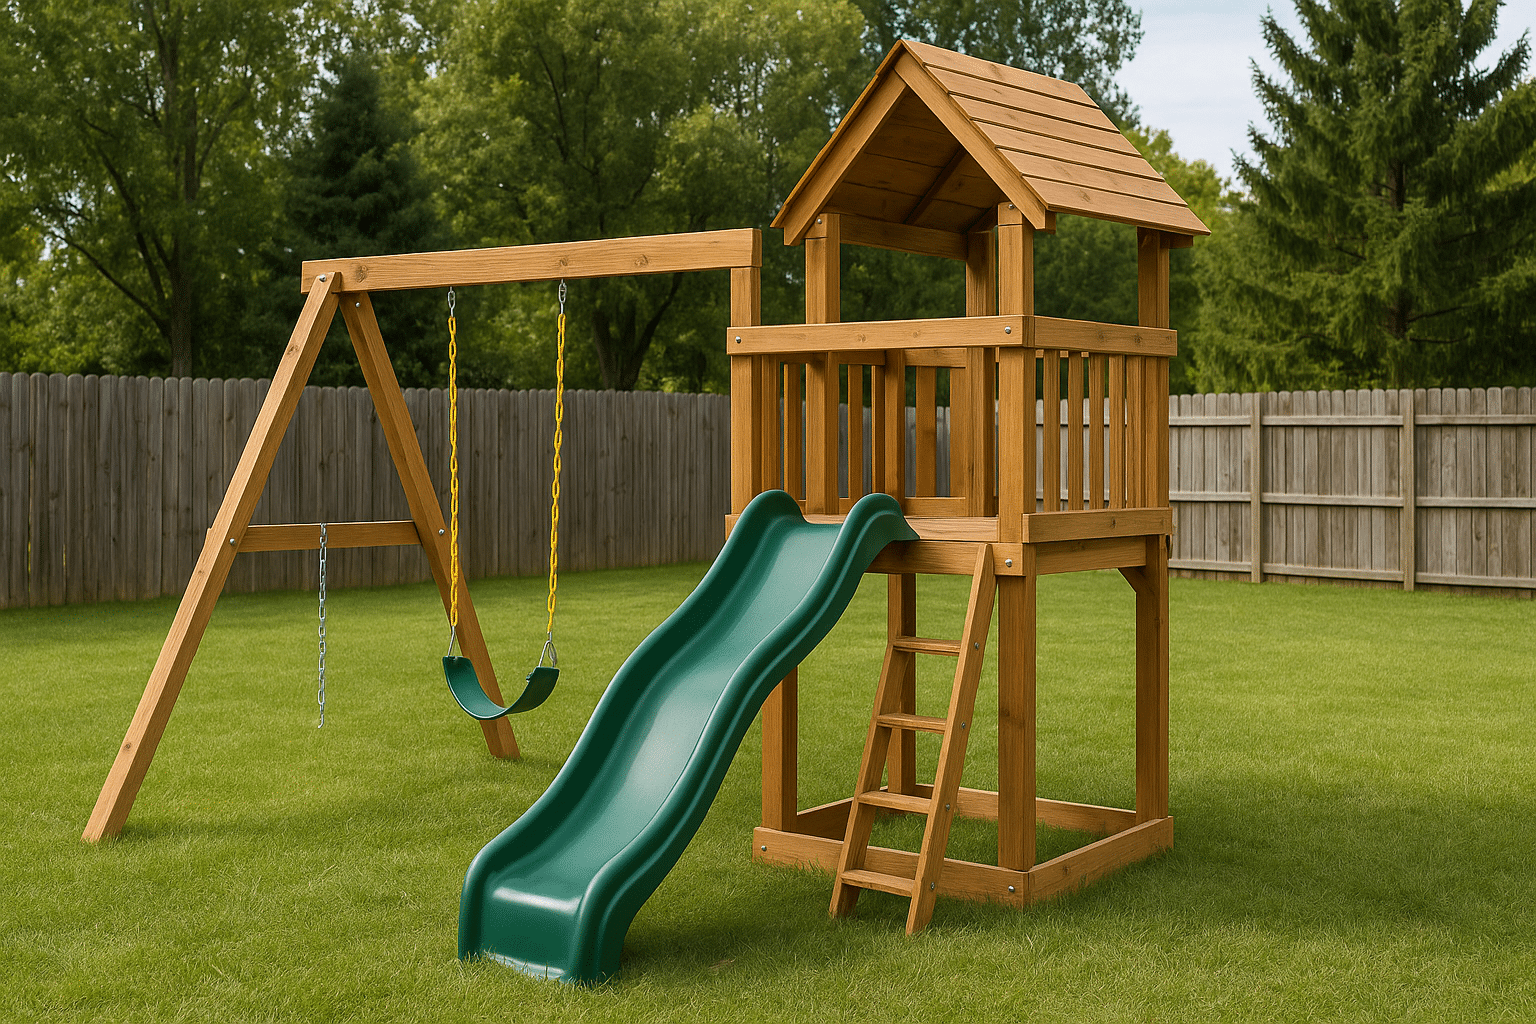
Putting together a Wing-N-Slide playset assembly in your backyard can feel like a weekend mission or a small construction project—sometimes both. You might be picturing a chaotic pile of parts and a lot of swearing, but honestly, with a plan, basic tools, and one patient helper, it’s absolutely doable. This guide walks Salt Lake City homeowners through a clear, conversational, step-by-step process so you finish with a sturdy, fun playset the kids will actually use (and you’ll secretly enjoy too).
Contents
- 1 Who this guide is for — and why it helps
- 2 What you’ll need before you start (spoiler: not as much as you think)
- 3 Prep the spot — don’t skip the boring part
- 4 Step-by-step assembly (the fun stuff)
- 5 Safety checks and common hiccups
- 6 Maintenance that keeps the playset safe and happy
- 7 Quick fixes for when things go sideways
- 8 Wrapping up — you’ve got this (and we can help)
Who this guide is for — and why it helps
Are you a homeowner in Salt Lake City, UT who likes to roll up your sleeves but doesn’t have a construction crew on speed dial? Great—that’s exactly who this is for. If you’ve bought a Wing-N-Slide-style kit or are thinking about one, you’ll find practical tips, safety checkpoints, and realistic timing so you don’t get stuck halfway through with an angry toddler and a missing bolt.
You know what? Even if you’ve assembled IKEA furniture before and think you’re invincible, playsets are different. They involve larger components, ground anchoring, and an eye for level and alignment. Let me explain: the structure can be forgiving, but connections and anchors can’t be. Small mistakes lead to wobble over time, and nobody wants a wobbly swing.
What you’ll need before you start (spoiler: not as much as you think)
Gathering everything first saves time and frustration. Lay it all out on a tarp so you can inventory parts before the kids arrive to “help.”
Essential tools:
- Cordless drill (DeWalt 20V or similar) with a set of bits.
- Socket set and adjustable wrench — most bolts want a good, snug torque.
- Rubber mallet — wood pieces sometimes need a little persuasion.
- Level and tape measure — yes, measure twice, cut once (or just measure twice).
- Post hole digger or shovel and quick-set concrete if ground-anchoring is needed.
- Safety gear: gloves, safety glasses, ear protection if you’re drilling a lot.
Optional but handy: a second cordless tool like a compact impact driver, a couple of clamps, and a magnetic tray for bolts. Brands I trust: Milwaukee and DeWalt for power tools; Simpson Strong-Tie for anchors.
Prep the spot — don’t skip the boring part
Site prep is where many projects win or lose. Pick a level area with good drainage, away from large tree roots and overhead hazards. In Salt Lake City you’ll want to think about summer sun and late-afternoon shade—kids fry under a full sun in July.
Ground pad options: Grass is fine but consider rubber mulch or engineered wood fiber for better fall protection. If you’re anchoring into soil, use concrete footers or earth anchors following the manufacturer’s recommendations.
Step-by-step assembly (the fun stuff)
Here’s the straightforward order that keeps things sane. Follow it, and you’ll avoid the “we should have done this earlier” moments.
1. Inventory and lay out parts
Open the kit, spread parts on your tarp, and match them to the parts list. Missing items? Call the vendor before you start. Small contradiction: some pieces are interchangeable, but that’s not an excuse to skip checking every screw and bracket.
2. Assemble the base frame
Start with the main beams and floor frame. Use two people for large timbers—lifting alone is a false economy. Tighten bolts hand-tight first, then torque them down once the whole base is square. Use the level often; slight squints lead to big issues later.
3. Add the upper structure and roof
Raise the posts, attach crossbeams, then secure the roof panels. If the kit includes a canopy, install it after the structural pieces so you don’t tear it while wrestling lumber.
4. Slide, swings, and accessories
Install the slide according to the manual—most require you to bolt a mounting bracket to the deck. Hang swings last so you don’t stress the frame while you’re still working on it. Use stainless steel hardware for longevity; rusted hardware is the silent enemy of backyard gear.
Safety checks and common hiccups
Before you let anyone on, run through a safety checklist. It’s tempting to declare victory early; resist that temptation.
- Double-check all bolts: Make sure they’re tightened and have locking washers or thread-lock where recommended.
- Anchors: Confirm anchors are set to the correct depth and cured if using concrete (usually 24–48 hours).
- Clear zone: Ensure a 6-foot clearance around swings and 8-10 feet in front of slides.
- Hardware heads: All bolt heads should be recessed or capped so no snags.
Common hiccups include missing hardware, warped boards (rare, but happens), and angled posts because someone decided “eyeballing” was fine. Don’t be that someone.
Maintenance that keeps the playset safe and happy
Maintenance is low effort but pays big dividends. Seasonal checks and a little elbow grease keep your playset from turning into an eyesore or a liability.
Quick yearly checklist:
- Inspect for splinters, rot, and rust. Sand and seal wood as needed.
- Retorque bolts annually; timber shrinks and shifts with Utah’s dry summers and snowy winters.
- Replace worn swing seats, chains, or slide hardware immediately.
And honestly—if you’re not planning to maintain it, you probably shouldn’t build it. Playsets ask for a little attention. They give back a lot of laughter.
Quick fixes for when things go sideways
If a lag bolt won’t bite, try a slightly larger pilot hole or a different anchor point; if the wood splits, use an exterior-rated wood glue and clamps before re-bolting. If the slide squeaks, lubrication with a silicone spray usually calms it down. These are small, fixable things—don’t let them snowball.
Wrapping up — you’ve got this (and we can help)
Assembling a Wing-N-Slide playset is a mix of muscle, patience, and a little love. It’s doable by most handy homeowners in Salt Lake City, but if you’d rather spend time picking paint colors, chasing kids, or enjoying a weekend off, we get it.
If you want help with setup, anchoring into tricky soil, or just a second set of hands to speed things up, call 801-405-3954 or request a free quote from Utah Playset Builders. We’ll come out, make a plan, and get your playset assembled safely and quickly—so you can get back to what matters: watching them play.
