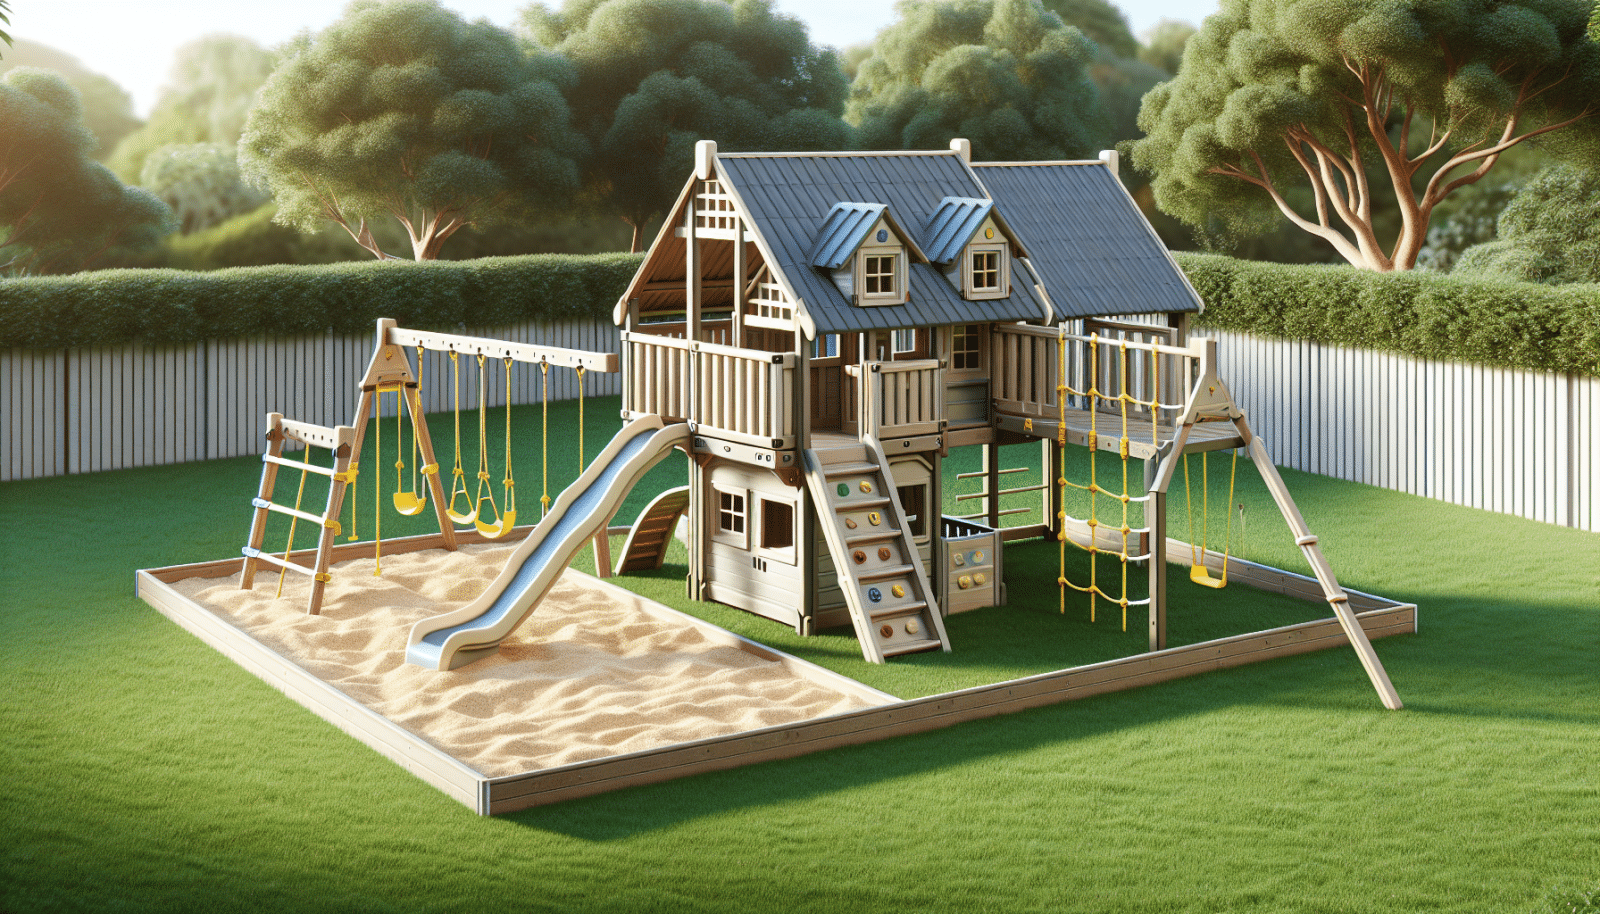
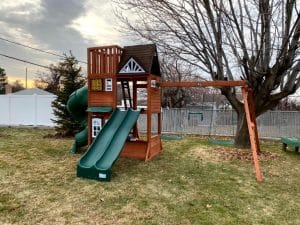
As a daycare owner, you know the importance of having a fun and safe play area for the little ones. As Utah Playset Builders, we’re here to guide you through the essential steps of playset assembly. This article addresses common concerns and provides a comprehensive roadmap to ensure your playset is perfect for your daycare. By following our expert advice, you’ll create a delightful and secure play environment.
Contents
Planning Your Playset
Before assembly begins, it’s crucial to plan. Start with measuring the available space. Ensure there is enough room for the playset and extra area for running, jumping, and falling safely.
Also, consider the age group of your daycare kids. Younger children need smaller, simpler playsets, while older kids might enjoy more complex setups with multiple features.
Choosing the Right Playset
Selecting the proper playset is fundamental. With so many options, think about materials and design. Wood, metal, and plastic each have pros and cons. Wood adds a natural look, metal is durable, and plastic requires low maintenance.
Customizable playsets offer flexibility. Add slides, swings, or climbing walls to tailor the playset to your daycare’s specific needs.
Pre-Assembly Preparation
Preparation is key. Gather all necessary tools and materials before you begin. This step includes ensuring you have a complete list of parts and the required tools like wrenches, screwdrivers, and drills.
Read and understand the playset instructions thoroughly. It might seem tedious, but a good grasp of the process makes the assembly smoother and reduces errors.
Safety Considerations
Kid safety is paramount. Make sure the ground beneath the playset is soft and impact-absorbing. Use materials like sand, rubber mulch, or wood chips to cushion potential falls.
Check all components for sharp edges or loose parts. Secure everything tightly to prevent any accidents.
Assembly Process
Organize your components and tools. Lay out all parts systematically. Start with the base and proceed step-by-step as instructed.
Work with a team. Playset assembly is not a solo task. Having extra hands will not only speed up the process but also ensure accuracy and safety.
Final Touches and Inspection
Once assembled, conduct a thorough inspection. Ensure all parts are securely fastened, and check for any loose screws or bolts.
Test the playset by applying weight and pressure to different areas. This helps identify any weak spots that need reinforcement.
Creating Fun & Safe Zones
Designate specific play zones. Separate active areas like swings from quieter zones for activities like a sandbox. This minimizes accidents and manages the enthusiasm of the kids.
Color-coding zones can also help children easily understand where to play different activities, fostering both fun and safety.
Maintaining Your Playset
Regular maintenance is vital for longevity. Set a schedule for periodic checks. Look out for wear and tear, especially on moving parts.
Clean the playset regularly. Wipe down surfaces to remove dirt and deter pests. This keeps the playset looking fresh and inviting.
Staff Training
Train your staff on using and maintaining the playset. Educated staff can help children use the equipment safely and spot potential hazards early.
Regular training sessions ensure everyone is up-to-date on safety protocols and maintenance routines.
Benefits of a Professional Assembly
Opting for professional assembly has many advantages. Professionals have the expertise and tools to assemble quickly and correctly.
This option saves you time and provides peace of mind, knowing that the playset is safe and securely built for your daycare.
Engage Utah Playset Builders Today
Creating a fun and safe play area doesn’t have to be daunting. contact Utah Playset Builders today by phone # 801-405-3954 or request a free quote. Let’s make your daycare’s play area a delightful, secure haven!


