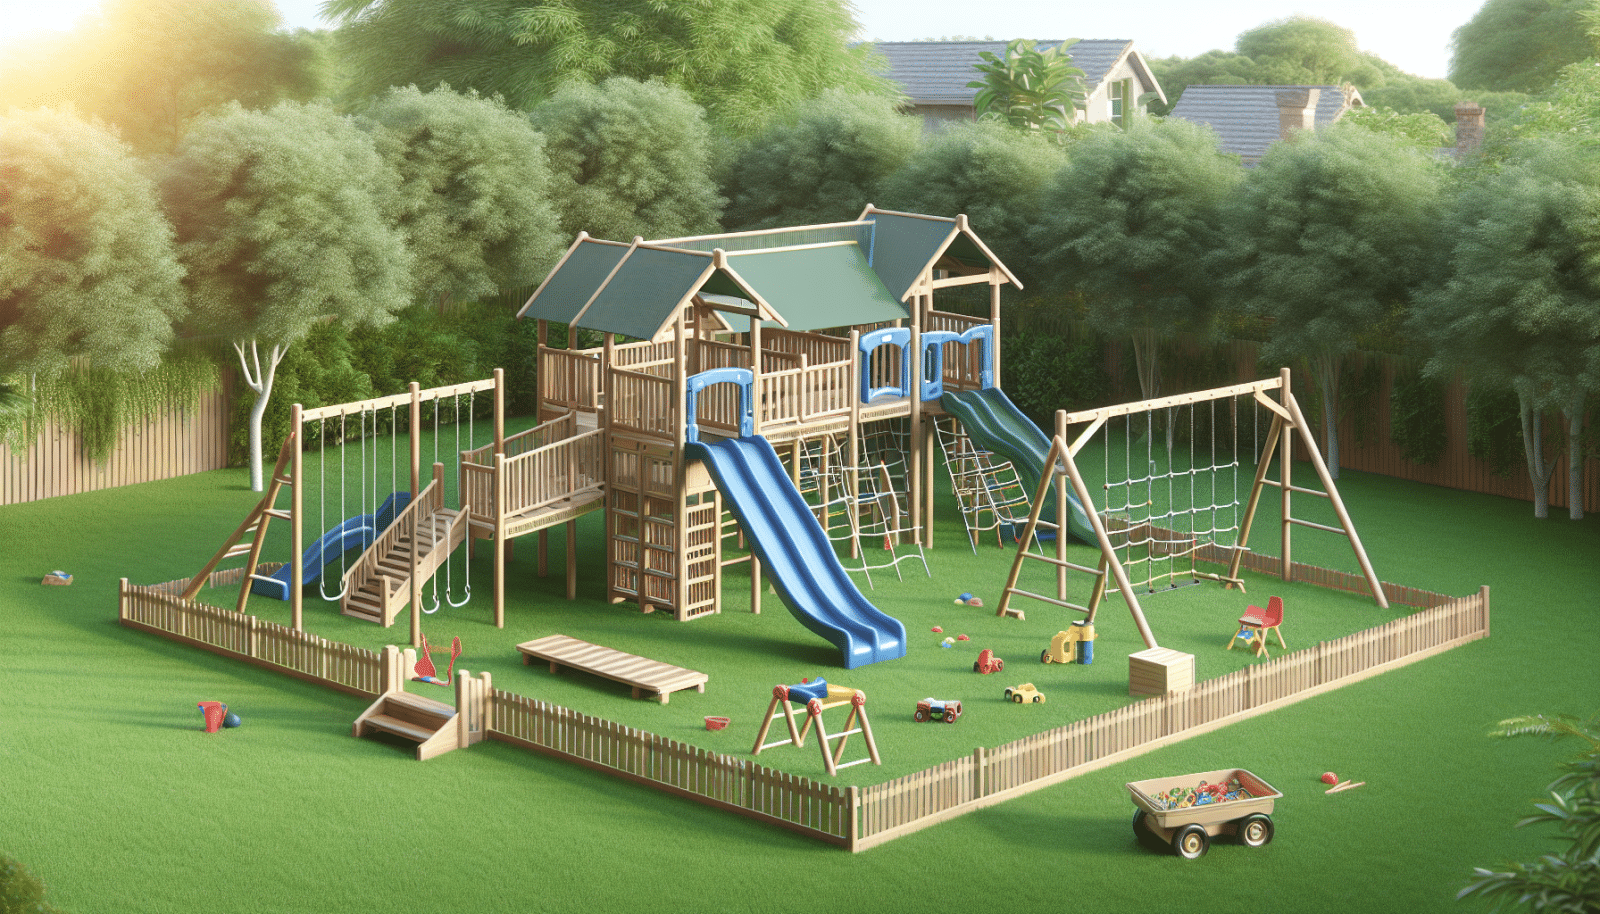
At Utah Playset Builders, we understand the importance of well-assembled playsets for your school. In this guide, we’ll cover everything from planning to final touches, ensuring your playset is safe and enjoyable for kids. This article is designed to help school administrators and facilities managers with the detailed process of playset assembly. Let’s dive in and make your school’s play area a hit!
Contents
- 1 Planning Your Playset
- 2 Choosing the Right Playset
- 3 Gathering the Necessary Tools
- 4 Site Preparation
- 5 Following Assembly Instructions
- 6 Ensuring Safety During Assembly
- 7 Anchoring the Playset
- 8 Adding Safety Surfacing
- 9 Final Checks and Inspections
- 10 Maintenance Tips
- 11 Common Playset Problems and Solutions
Planning Your Playset
Before you even start assembling a playset, thorough planning is crucial. Begin by assessing the available space in your schoolyard. Measure the area to ensure the playset will fit comfortably without overcrowding or leaving too little room for other activities.
Next, consider the age group of the children who will be using the playset. Different age groups have varying needs and safety requirements, and choosing the right type of playset for your students is essential.
Choosing the Right Playset
When selecting a playset, consider the materials used in its construction. Wood and metal are popular choices, each with its own set of benefits and downsides. Wood provides a classic, natural look but may require more maintenance. Metal is durable but can get hot under the sun.
You’ll also want to think about the features of the playset. Slides, swings, climbing walls, and monkey bars each offer different types of play. Choose features that will be engaging and enjoyable for the children at your school.
Gathering the Necessary Tools
Having the right tools on hand is essential for smooth playset assembly. Make sure you have all the necessary equipment before starting the process.
Basic tools like screwdrivers, wrenches, and pliers are a must. Additionally, power tools such as a drill and a saw might be required, depending on the specifications of your playset.
Site Preparation
Preparing the site where you intend to install the playset is a critical step. Begin by clearing the area of any debris, rocks, or plant life that could interfere with the installation.
Leveling the ground is the next step. This ensures a stable foundation for the playset. Depending on your soil type, you might need to add a layer of sand or gravel for extra stability.
Following Assembly Instructions
Each playset comes with a specific set of instructions that must be followed to ensure proper assembly. Lay out all components and verify that all parts are present. Missing components can delay the assembly process.
Follow the step-by-step guide provided by the manufacturer. It might be helpful to have multiple people involved in this stage to make the process smoother and faster.
Ensuring Safety During Assembly
Safety during the assembly process is a top priority. Make sure everyone involved is wearing appropriate safety gear, such as gloves and eye protection.
Always double-check that each component is securely fastened before moving on to the next step. Loose screws or bolts can compromise the stability and safety of the playset.
Anchoring the Playset
Anchoring is a crucial step to ensure the playset does not tip over and remains stable. Most playsets come with a set of anchoring guidelines specific to the model.
Secure the anchors in place and fasten them tightly to the ground. This step generally requires a bit of muscle, so having a few extra hands can be beneficial.
Adding Safety Surfacing
Safety surfacing is an essential aspect of a well-planned playset. It helps to cushion falls and prevent injuries. Common types of safety surfacing include rubber mulch, sand, and pea gravel.
Spread the safety surface evenly around the playset, ensuring a consistent layer depth. This helps to maintain the protective qualities of the surface and looks aesthetically pleasing as well.
Final Checks and Inspections
Once the playset is assembled, it’s time for a thorough inspection. Check all connections and joints to ensure that everything is secure.
Test the stability of the playset by applying pressure to various points. If everything feels robust and stable, you’re ready to open the playset for children to enjoy.
Maintenance Tips
Regular maintenance helps to extend the life of your playset. Check for wear and tear regularly and address any issues promptly.
Lubricate moving parts and tighten bolts every few months. This keeps the playset in top condition, ensuring a safe and fun playtime for the kids.
Common Playset Problems and Solutions
- Loose Bolts: Over time, bolts can become loose due to regular use. Regularly check and tighten all bolts to maintain stability.
- Wear and Tear: Inspect the playset for any signs of wear and tear. Replace worn-out parts promptly to maintain safety.
- Weather Damage: Exposure to elements can deteriorate the playset. Apply weather-resistant coatings to protect the structure.
- Anchors Coming Loose: Occasionally check that your anchors are still firmly in place and re-secure if necessary.
- Surface Deterioration: Replace or replenish the safety surfacing materials as needed to maintain a safe play area.
With this comprehensive guide, assembling a playset for your school can be an efficient and rewarding process. Make sure to follow each step carefully, and you’ll soon have a fantastic play area for children to enjoy.
If you’d rather leave it to the pros, give us a call at Utah Playset Builders by phone # 801-405-3954 or request a free quote. We’re here to make your school’s play area both safe and fun!


