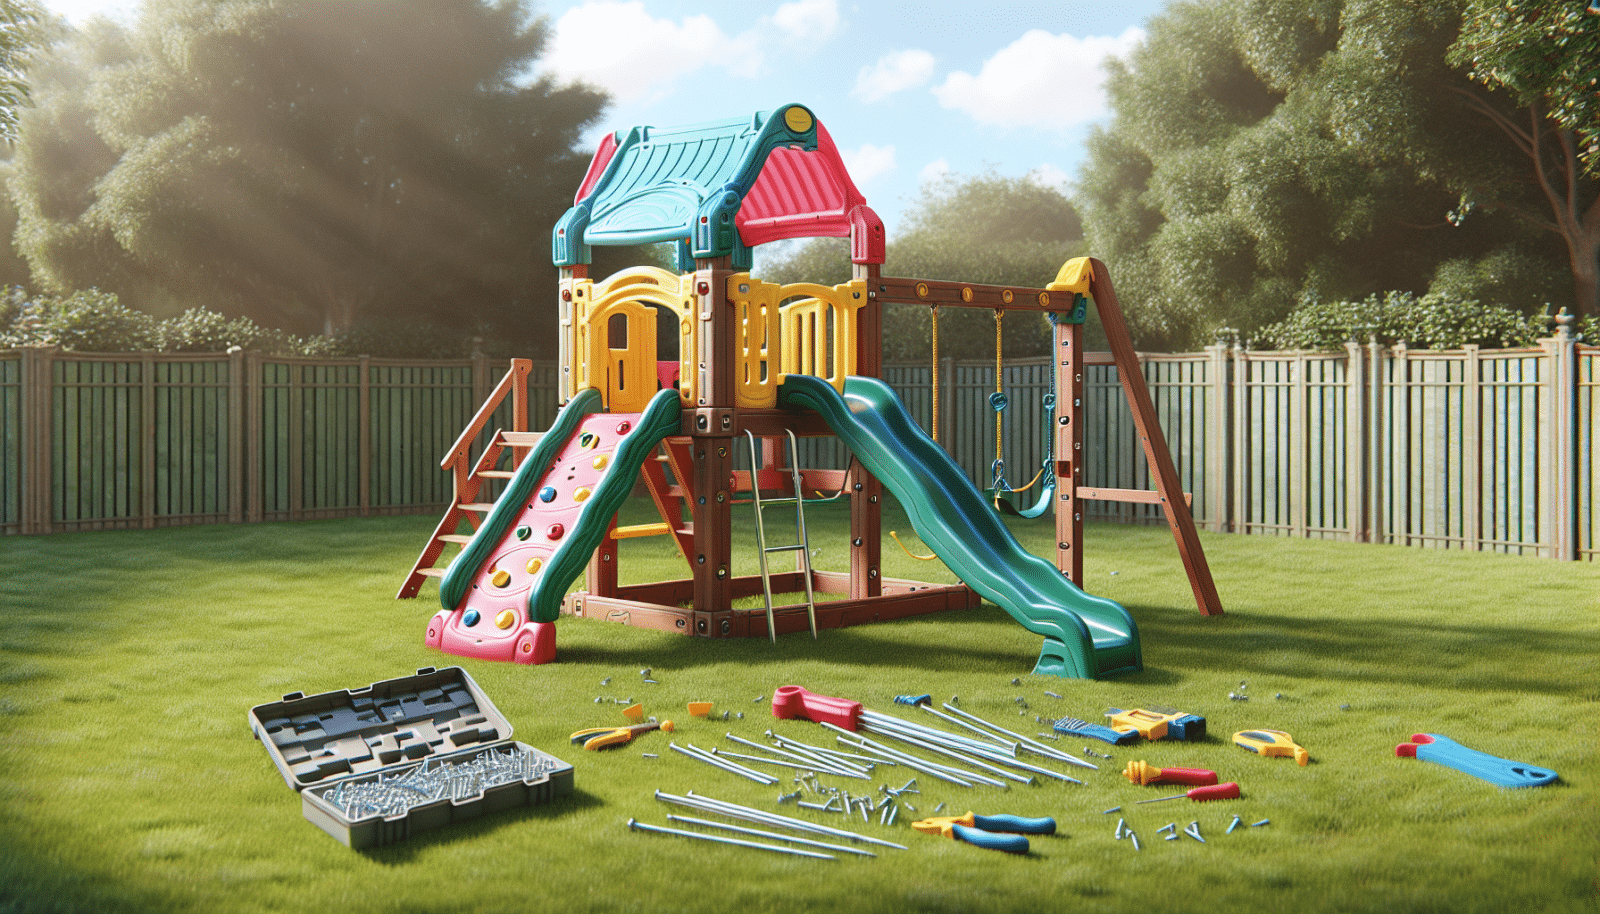
gorilla playsets are a fantastic addition to any backyard, providing endless entertainment for kids. However, assembling these intricate structures can often lead to frustration and confusion if you’re unfamiliar with the process. That’s where we come in! At Utah Playset Builders, we’re devoted to ensuring a smooth and fun assembly experience. This article will guide you through valuable tips and tricks, making assembly a breeze for every homeowner in our area.
Contents
- 1 Understanding Your Gorilla Playset Kit
- 2 Choosing the Best Location
- 3 Gathering the Right Tools
- 4 Reading and Following Instructions
- 5 Assembling the Base Structure
- 6 Adding the Fun Features
- 7 Safety Checks: Important But Often Overlooked
- 8 Maintaining Your Playset for Longevity
- 9 5 Key Points for Efficient Assembly
- 10 Why Choose Utah Playset Builders?
Understanding Your Gorilla Playset Kit
Before diving into the assembly process, it’s crucial to familiarize yourself with your Gorilla playset kit. This understanding will set the foundation for a seamless setup.
Each kit comes with a detailed manual and a variety of components. Taking the time to review these items can prevent future headaches. We recommend laying out all parts and checking them against the list provided. This ensures nothing is missing before you get started.
In addition, understanding the terms and symbols in the manual will assist you later. Familiarize yourself with the illustrations and instructions to make the execution stage smoother. Once you’re familiar, assembling your playset will feel like piecing together a giant jigsaw puzzle, minus the frustration!
Choosing the Best Location
The location of your playset is crucial for safe and enjoyable play. Without the right spot, your playset might not stay steady, or worse, it might even pose a danger.
First, the ground should be level and firm. This ensures stability and keeps the playset from shifting. Avoid areas with overhead obstacles, like tree branches or power lines. Safety is a top priority, and overhead clearance prevents unnecessary accidents.
Moreover, if possible, find a sunny spot away from puddles and mud, which can lead to rust and deterioration over time. Consider traffic flow, too. A playset should be easily accessible but not so close to the main play areas that it causes congestion. With these aspects in mind, you’re bound to find the perfect spot!
Gathering the Right Tools
Proper tools not only make the job easier but also help maintain the integrity of your playset, ensuring it lasts for years. Here’s what you need to get started.
A sturdy ladder, a rubber mallet, an adjustable wrench, and a power drill with screwdriver bits are essential. These tools will make assembling faster and safer. Consider investing in a pair of gloves for protection and comfort.
Verify that your tools are in good condition and not worn out, as this affects your safety and the assembly’s effectiveness. Having the right tools at your disposal means fewer interruptions and complications, allowing you to enjoy the assembly process with ease.
Reading and Following Instructions
Reading the manual thoroughly might seem tedious, but it’s an investment in success! Missing steps can lead to frustration and a potentially unstable playset.
Carefully review each section before you actually begin the assembly. Highlight key sections or mark pages for quick reference. Trust us: this preparation will save you time and effort in the long run.
Moreover, understanding every step provides clarity on how the parts operate together to form a sturdy structure. If possible, tackle the job with a buddy. Having another set of eyes can help catch mistakes and make the experience more enjoyable.
Assembling the Base Structure
The base is the heart of any playset, acting as its foundation. Ensuring it’s strong and secure is crucial for future steps.
Begin by laying out all necessary parts according to the instructions. This prevents confusion and saves time later. Fasten all nuts and bolts as directed, double-checking connections for quality.
Pay special attention to the alignment of the frame. Any discrepancies can cause alignment issues. Patience is key in this stage. A stable base sets the tone for a sturdy, long-lasting playset that your kids will love.
Adding the Fun Features
Once your frame is in place, it’s time to enhance your playset with slides, swings, and climbers. This is where the fun begins!
Start with the swings. Ensure they’re set at a safe height and that the chains are securely fastened. The same goes for any climbing ropes or ladders—secure attachments are essential.
Next, attach slides, ensuring the slope is gentle enough for safe landings yet thrilling enough for adventure. Regular safety checks can prevent wear and tear and keep these components safe for play.
Safety Checks: Important But Often Overlooked
Safety checks might feel like a minor step, but they’re critical for the playset’s usability and your peace of mind.
Inspect bolts and screws regularly to ensure they haven’t loosened. Loosening over time is natural, but catching it early prevents accidents. Also, survey the surrounding area to ensure nothing can harm your kids receding play time.
Consider installing rubber mats or mulch beneath your playset for added cushioning. This minimizes the risk of injury from falls. Thorough safety inspections mean hours of safe playdown the road!
Maintaining Your Playset for Longevity
Your playset’s endurance significantly depends on regular maintenance. The more diligent you are, the longer it lasts.
Check the paint and wooden surfaces annually for chipping or splintering. Refinishing as needed keeps surfaces smooth and safe for kids. Address rust or corrosion on metal parts promptly to prolong their lifespan.
Additionally, clear the surrounding ground of debris and foliage. This minimizes hidden dangers and enhances accessibility. A well-maintained playset stands the test of time and maximizes the fun for your family!
5 Key Points for Efficient Assembly
- Plan Ahead: Scheduling your assembly and picking clear weather days can help avoid last-minute hassles.
- Ally with Help: Enlist a friend or family member to assist. Teamwork makes complex tasks lighter and more fun.
- Quality Check: Before installing, inspect all components for defects. Receiving replacements before starting is better than pausing midway.
- Secure Connections: Double-check each attachment point to ensure durability. A couple of extra seconds on each bolt save potential headaches later.
- Clean Workspace: An organized space helps you locate tools and parts promptly, cutting down distraction or frustration.
Why Choose Utah Playset Builders?
When it comes to playset assembly, Utah Playset Builders is on top of the game. But what sets us apart?
Our commitment to quality and customer satisfaction is unwavering. We’re not just installers; we educate homeowners on how to maintain and maximize their backyard play adventures. With years of experience, we ensure every assembly meets high safety standards while sparking joy.
Moreover, we offer comprehensive services tailored to your needs, whether it’s a simple consultation or full-fledged assembly. With us, your child’s safety and pleasure are guaranteed!
In conclusion, Gorilla playset assembly can be smooth and straightforward with the right tips and tricks. For personalized assistance, call us at 801-405-3954 or request a free quote to bring your yard dreams to life!


