As a homeowner, assembling a kidkraft playset can seem like a monumental task. But fear not! Here at Utah Playset Builders, we have all the tips and tricks to make the process smooth and enjoyable. Our expertise will guide you every step of the way, ensuring your little adventurers are enjoying their playset in no time. Dive into this guide and let us help you transform your backyard into a magical playground.
Contents
- 1 Gather Your Materials and Tools
- 2 Set Up the Perfect Location
- 3 Follow the Instruction Manual Step-by-Step
- 4 Work in Sections and Phases
- 5 Ensure Fasteners and Connectors are Secure
- 6 Tag Team with a Friend
- 7 Embrace Creative Customizations
- 8 Check for Safety All Around
- 9 Involve the Kids for the Finishing Touches
- 10 contact Us for Expert Help
Gather Your Materials and Tools
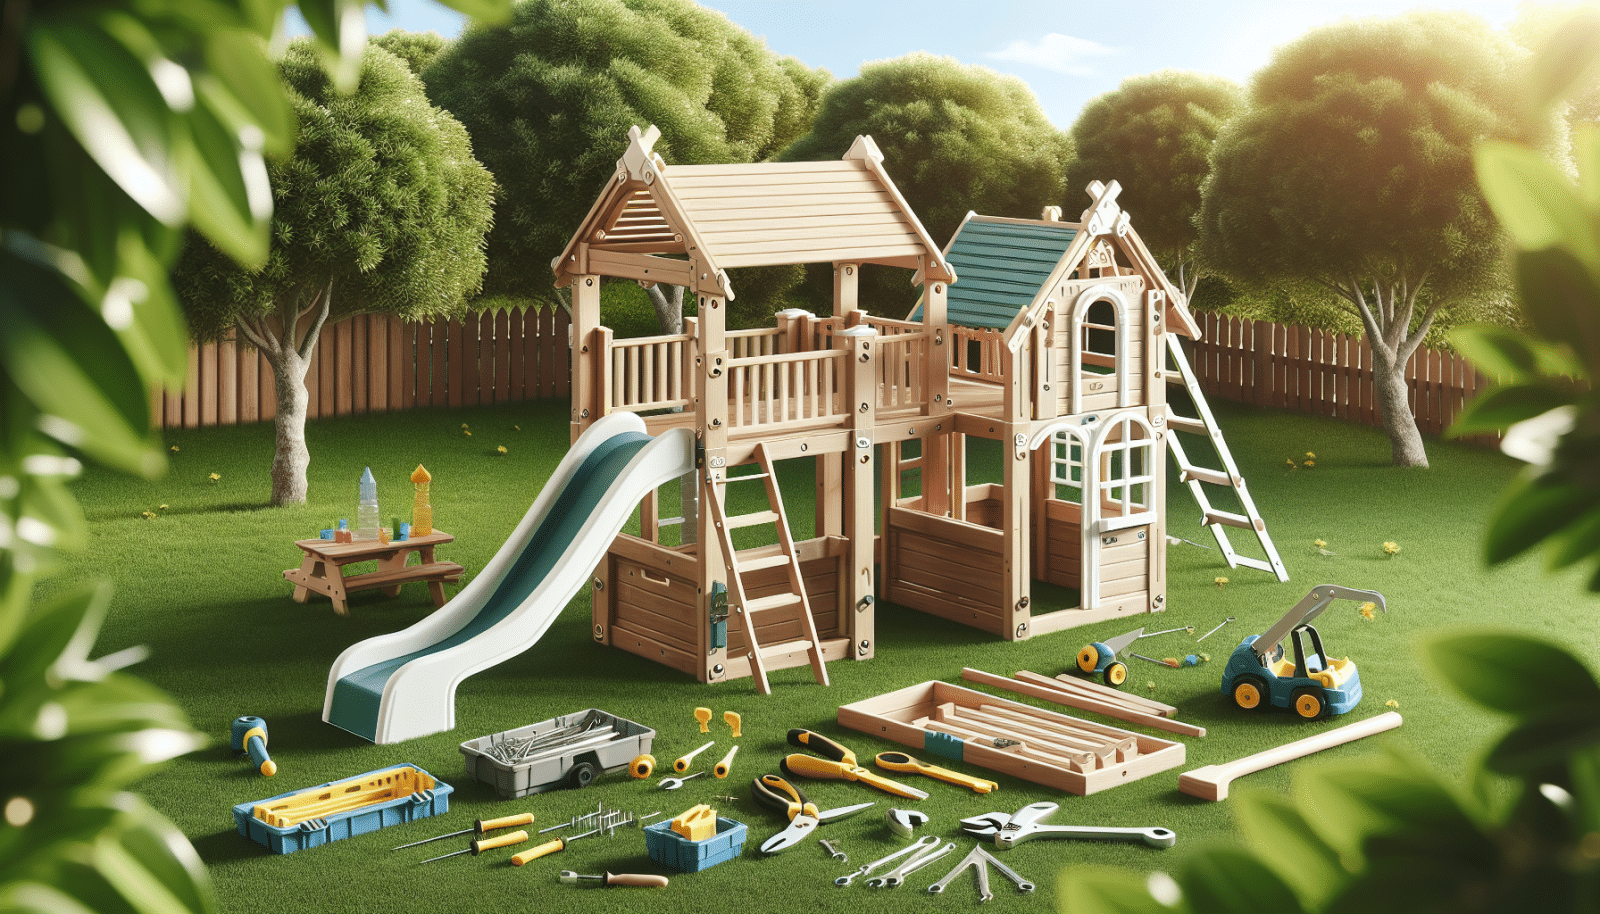
Before you start assembling the playset, it’s essential to gather all necessary materials and tools. While it might be tempting to dive right in, a little preparation goes a long way. Having everything laid out in front of you will not only streamline the process but also make it more enjoyable. Plus, there’s nothing quite like the satisfaction of seeing everything come together without unnecessary interruptions.
We recommend spreading out all the playset parts and checking them against the included checklist. Make sure that no components are missing. You’ll likely need common tools like a drill, wrench, and screwdriver, so have these handy from the get-go.
Set Up the Perfect Location
Choosing the right spot in your yard is crucial. A playset requires a flat surface, away from any obstacles. Kids love zipping down slides and climbing to new heights, so ensuring their safety is our top priority.
Consider the space your playset will occupy, as well as the immediate surroundings. Avoid low-hanging branches and ensure the area is free from rocks and debris. This space will soon be your children’s go-to spot for fun, so make it inviting and safe.
Follow the Instruction Manual Step-by-Step
Though it might be tempting to ignore that hefty instruction manual, we strongly advise against skipping it. Each KidKraft model has its own specific set of steps, and the manual is your map to success.
Take the time to read through the entire guide before starting. Understanding the process as a whole can prevent potential mishaps. Remember, patience is your friend here. By gingerly adhering to the instructions, you’ll ensure the assembly process is stress-free and efficient.
Work in Sections and Phases
Breaking down the construction into manageable sections is a game changer. Rather than feeling overwhelmed by the entire project, methodically tackling each part brings a sense of achievement.
Start with assembling the base and slowly make your way up. Each section will have its unique requirements, so focusing your attention on one piece at a time prevents errors. Plus, this progress will motivate you to continue moving forward.
Ensure Fasteners and Connectors are Secure
Securing fasteners properly is crucial for the safety and longevity of your playset. Every nut and bolt plays a significant role in keeping the structure stable.
Check all screws and bolts to ensure they are tightened. Loose connections might cause issues down the road, so snug them up. Inspect connectors for wear and tear to make sure they’re in optimal condition. Use power tools responsibly to avoid stripping screws or over-tightening. Reassess each connection point after construction is complete to double-check their security. Keep an eye on the structure periodically after assembly, inspecting it monthly to maintain safety standards.
Tag Team with a Friend
There is no “I” in “team,” and assembling a playset is far more enjoyable with a helping hand. Grab your partner, friend, or neighbor to lend their skills.
Working with a buddy not only doubles productivity but also makes the process more fun. Plus, those extra hands can be crucial when holding pieces in place or ensuring everything lines up perfectly. Teamwork takes the hassle out of heavy lifting—literally!
Embrace Creative Customizations
After the main playset is bolted together, it’s time to add those personal touches. Customizing your playset can make it more exciting and exclusive.
Consider adding paint, unique fixtures, or even extra attachments. These little tweaks not only enhance the aesthetic but also offer children a sense of ownership and pride. Let your imagination fly as high as their swings!
Check for Safety All Around
Once your KidKraft playset is assembled, don’t skip the final inspection. Ensuring safety is paramount for peace of mind while your kids enjoy their newfound fun zone.
Look out for any sharp edges or protruding objects. Test the stability of slides, ladders, and swings to ensure they’re secure. This precautionary step takes only a moment but is invaluable in preventing accidents.
Involve the Kids for the Finishing Touches
Let’s not forget who this playset is truly for—the kids! Involving them in those last steps can blossom excitement and give them a sense of accomplishment.
Encourage them to help with final decorations, such as hanging flags or choosing the color of the slide. Their involvement means more memories to cherish. Plus, it’s a wonderful bonding opportunity.
contact Us for Expert Help
Need a hand or just prefer professionals to tackle the job? Give us a call at 801-405-3954 or request a free quote. We’re here to help bring your playset dreams to life.


