At Utah Playset Builders, we know assembling a lifetime Playset can feel like piecing together a puzzle without the picture on the box. Fear not, brave homeowners! This post provides step-by-step guidance to help you transform your backyard into a playground paradise. Whether you’re seasoned DIY enthusiasts or total novices, we’ve got the expert tips you need.
Contents
Gather Your Tools and Parts
Before diving in, let’s talk tools! Preparation is key to a smooth assembly process. You’ll need a few trusty tools and, of course, all the parts that the playset requires.
Start by collecting your toolbox essentials. A cordless drill, tape measure, wrenches, and a rubber mallet are some of your best friends for this task. Make sure you have everything on hand before you begin—it’ll save you time and frustration.
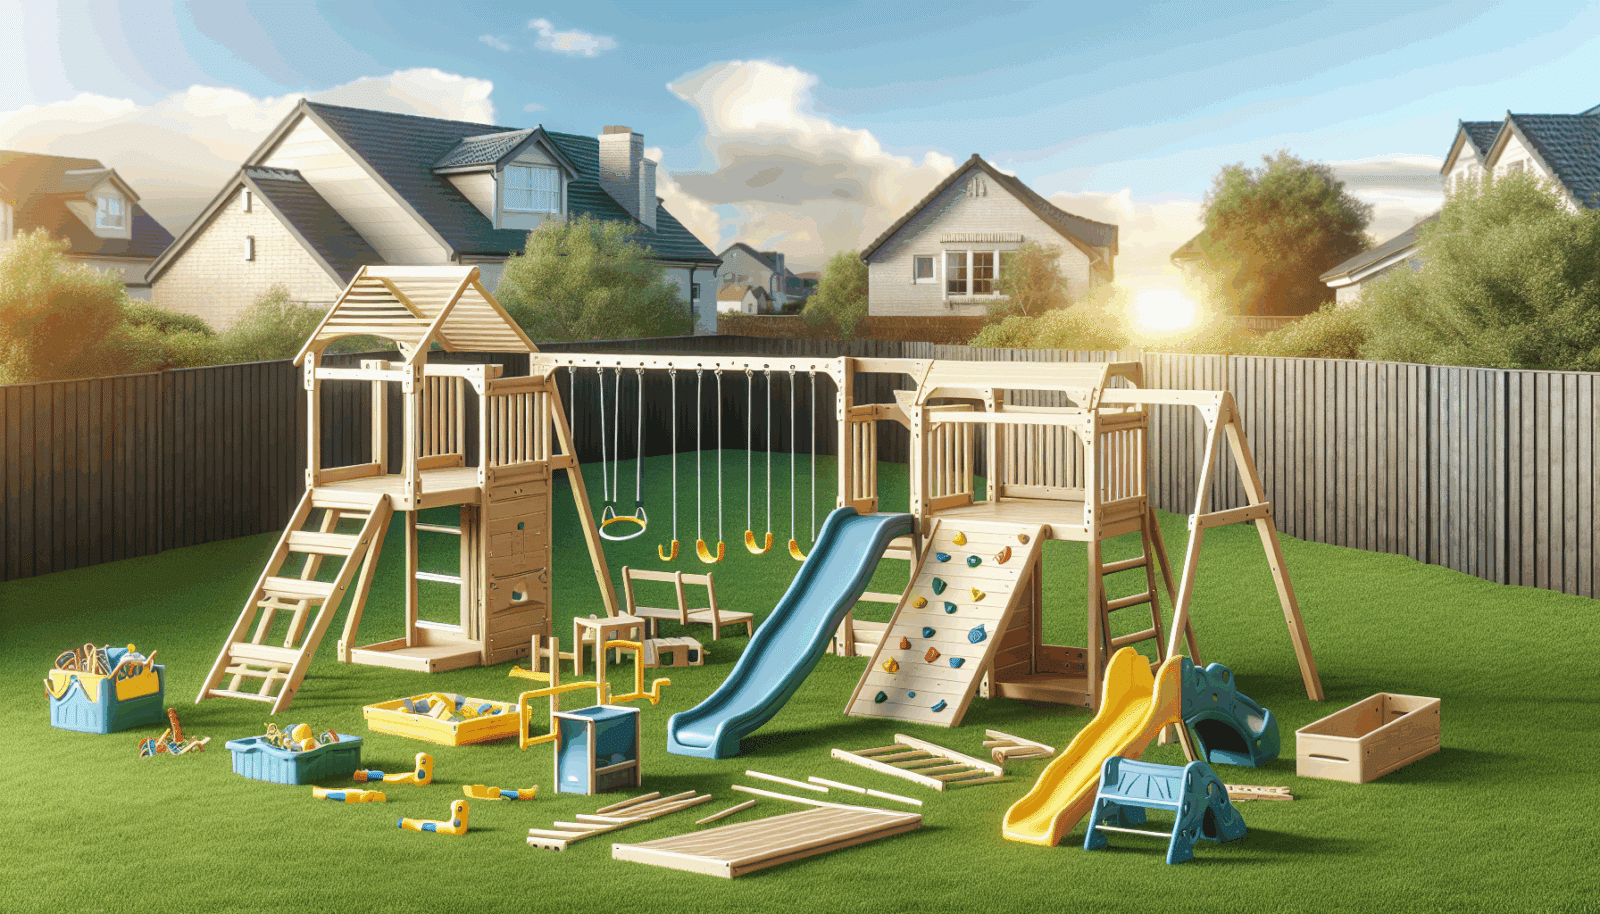
Next, organize the playset parts. Lay them out in an open space, checking them against the inventory list. This ensures nothing is missing and helps you become familiar with each component, making the assembly process less daunting.
Read the Instruction Manual
We know, instructions can seem tedious, but they’re your roadmap to a successful assembly.
Start by skimming through the entire manual. Understanding the big picture helps you grasp what goes where and in what order. This quick read-through ensures there are no surprises waiting for you halfway through the build.
Highlight sections that seem complex or unfamiliar. Spend extra time reviewing these areas. It could mean the difference between a Saturday spent efficiently and one spent retracing steps.
Prepare Your Work Area
Having a well-prepared work area can make or break how smoothly the assembly process goes.
Choose a flat and spacious area to build the playset. A flat surface will ensure stability, and extra space gives you room to maneuver. Clear the area of any debris or obstacles that might get in the way or cause safety issues.
Consider the final location for the playset. Think about safety, visibility from the house, and the lay of the land. Once assembled, moving it might not be an option, so plan wisely!
Follow Safety Guidelines
Safety first! Let’s keep everyone safe while assembling and playing.
Always wear safety gear such as gloves and safety glasses. These protect you from splinters, dust, and any stray pieces while keeping safety a top priority.
Ensure that any children or pets are kept at a safe distance during assembly. It’s tempting for little ones to want to help, but keeping them at bay protects them from accidents and lets you focus on the task at hand.
Set the Foundation
The foundation is crucial—think of it as laying the groundwork for endless fun.
Start by setting up the base of the playset. This is typically where the swings and main structure rest. Checking the ground for levelness ensures structural integrity and a safe play environment.
Secure the anchors according to the instructions. Proper anchoring prevents tipping and keeps the playset firmly in place during use, ensuring peace of mind when the kids are swinging their hearts out.
Assemble the Structure
Now, it’s time to see your playset take shape!
Begin assembling the frame. Follow the instructions closely, as this forms the backbone of your playset. A well-built frame is essential for safety and durability.
Double-check all bolts and screws. Tighten them securely, but be careful not to over-tighten and damage the parts. Consistent checks ensure none of them loosen over time.
Install Playset Features
Here’s where the fun truly begins—attaching the exciting elements!
This stage involves installing swings, slides, and other attractions. Each component usually has its section in the manual, guiding you through the correct installation method.
Make sure each element is secure and functioning as intended. Testing them out by gently tugging ensures everything is safe and ready for action.
Tighten and Double Check
Ensuring everything is secure saves you headaches later and ensures safety.
Take time to revisit every bolt and screw. Over time, vibrations from use can loosen them slightly. Regular checks keep your structure sturdy and secure.
Inspect joints and connections for gaps or weaknesses. Address any issues immediately to prevent future problems and ensure lasting enjoyment and security.
Inspect and Test
Time for a test run! Make sure your playset is fun-ready.
- Visual Inspection – Walk around the playset, looking for any visual signs of damage or parts that weren’t installed correctly. Address these issues immediately.
- Weight Test – Gently apply weight to each part, especially swings and ladders. Ensure they are stable and capable of withstanding typical usage pressure.
- Function Test – Test all moving parts. Ensure slides are smooth, swings move freely, and joints have no undue friction or noise.
- Safety Check – Double-check there are no sharp edges or loose parts. Safety is a top priority for all users, big and small.
- User Test – Allow the children to test it out (under supervision). Watch how it holds up to actual play and make any necessary adjustments.
Maintaining Your Playset
To ensure endless fun, maintenance is key!
Regularly check your playset for wear and tear. Harsh weather conditions can take a toll on even the sturdiest setups. Routine checks help you catch minor issues before they become major problems.
Consider protective measures such as sealing wood parts or lubricating metal joints. These simple tasks can extend the life of your playset significantly, keeping it safe and enjoyable for years to come.
In conclusion, assembling a Lifetime Playset doesn’t have to be a daunting task. With our expert tips, you’ll have it up and ready for action in no time. If you need more assistance, reach out to us at Utah Playset Builders by phone 801-405-3954 or request a free quote.


