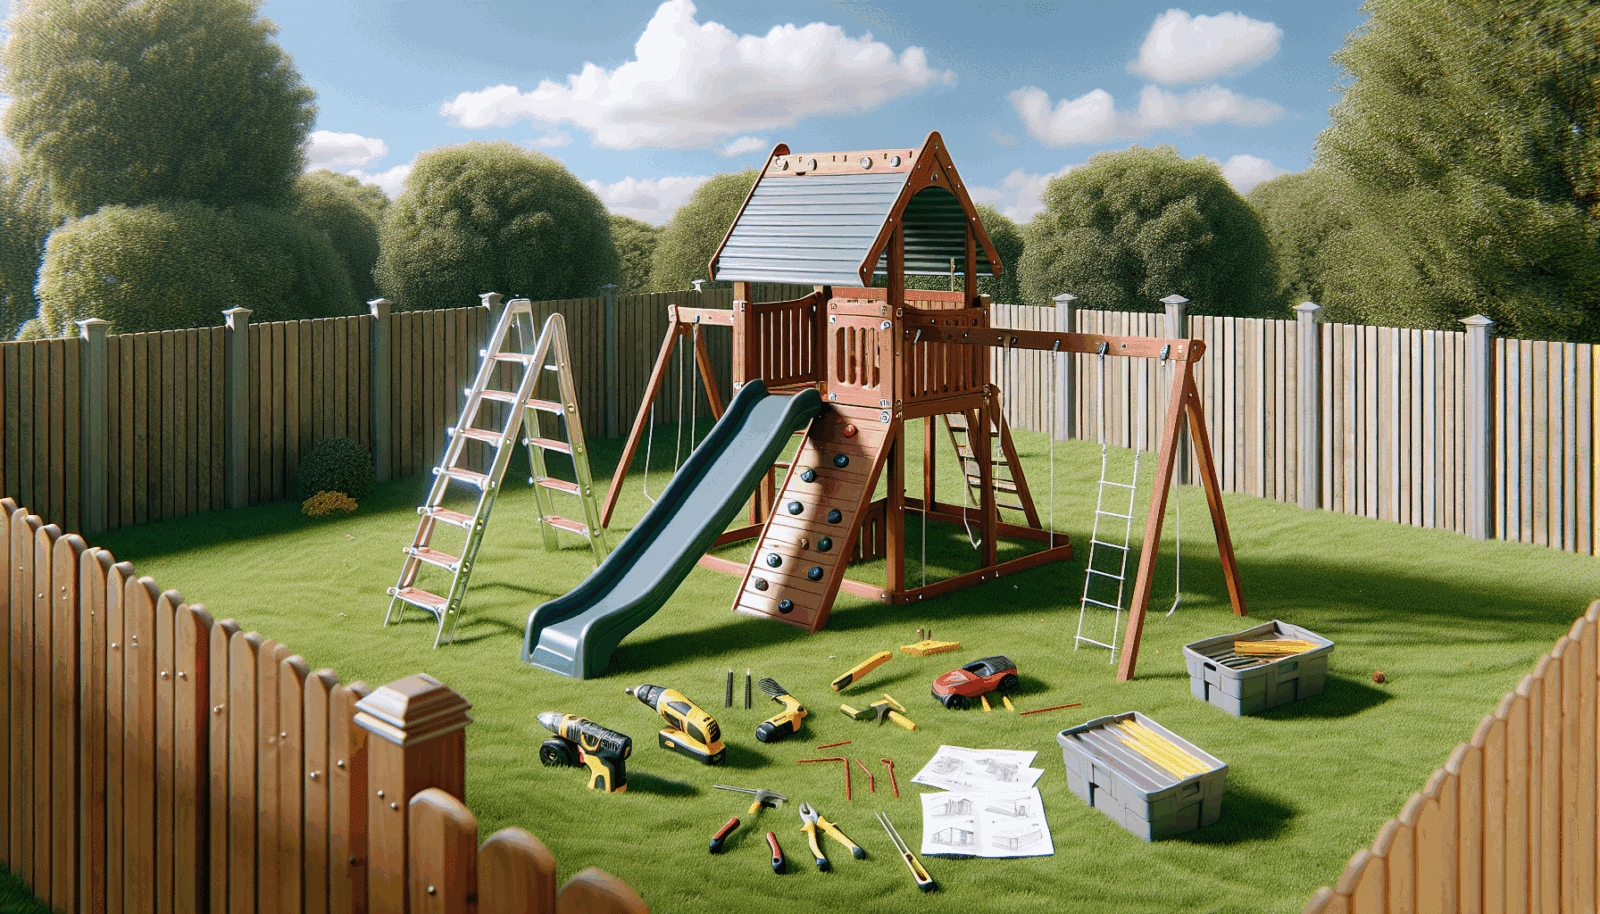
At Utah Playset Builders, we understand that assembling a playset can be a daunting task, filled with complex instructions and countless parts. But don’t worry—this guide is tailored just for you. We will take the stress out of the process, helping you complete the task in record time while keeping it fun and engaging. So wave goodbye to assembly woes and let us walk you through the swift and efficient setup of your family’s new favorite backyard feature.
Contents
Planning and Preparation
Before you dive into the nuts and bolts, take a moment to plan. Consider where you want to place your playset to ensure it’s on level ground and free from obstructions. A good plan can really speed up the process.
Start by gathering all your tools and materials. Make sure you have everything you need on hand, like a tape measure, screwdrivers, and a rubber mallet. Trust us, having the right tools ready will save you a lot of time and frustration.
Unpacking the Parts Like a Pro
Organization is key when it comes to unpacking your playset parts. Lay everything out in a neat and orderly fashion. This will help you identify the components easily and avoid the dreaded missing parts scenario.
As you unpack, use the instruction manual as your map. Cross-check each piece with the parts list. This way, you’ll know you’re ready to move on without any hiccups.
Reading the Manual: Your Best Friend
We know reading the manual isn’t the most thrilling activity, but it’s essential. A thorough understanding of the instructions will prevent errors and save time in the long run.
Take note of the sequence and any highlighted tips from the manufacturer. Sometimes, a simple trick can make a big difference in assembly time.
Laying the Foundation
A sturdy foundation is crucial. Begin by assembling the base of the playset. Ensure it’s level and secure, as this is what supports the entire structure.
This is a great time to call in a friend or family member for assistance. A second set of hands can be invaluable in aligning large sections.
Connecting the Frames
It’s time to connect the frames. Securely attach each section, following the recommended sequence. This step forms the primary structure of your playset.
Check each connection for stability. Tightening screws and bolts at this stage prevents future wobbles and keeps everything solid.
Adding the Playset Features
Now comes the fun part—adding slides, swings, and other features. These elements bring the playset to life, turning it into a magical haven for kids.
Be sure to double-check that moving parts are securely attached. Safety first!
Inspecting and Finishing Touches
Once everything is in place, give your playset a thorough inspection. Look for any loose components or spots that need a touch-up.
Add any decorative elements or personalization items. A splash of paint or a fun accessory can make the playset uniquely yours.
Ensuring Safety First
Safety is paramount. Ensure the playset is anchored and balanced. Double-check all fasteners and hardware for security.
Consider setting some ground rules with your kids to maintain both fun and safety.
Maintenance Tips for Longevity
To keep your playset looking new and safe, perform regular maintenance. This includes checking for loose parts and applying weatherproofing products.
- Routine Inspections: Schedule routine inspections every few months to catch any wear and tear.
- Tighten Hardware: Regularly tighten any loose screws and bolts to maintain stability.
- Clean Regularly: Clean the surfaces to prevent dirt buildup that can degrade materials.
- Weatherproofing: Apply weather-resistant products annually to protect against the elements.
- Replace Damaged Parts: Promptly replace any damaged components to ensure safety.
Conclusion
Congratulations, you’ve assembled your playset! Should you need further assistance, don’t hesitate to contact us by phone at 801-405-3954 or request a free quote.


