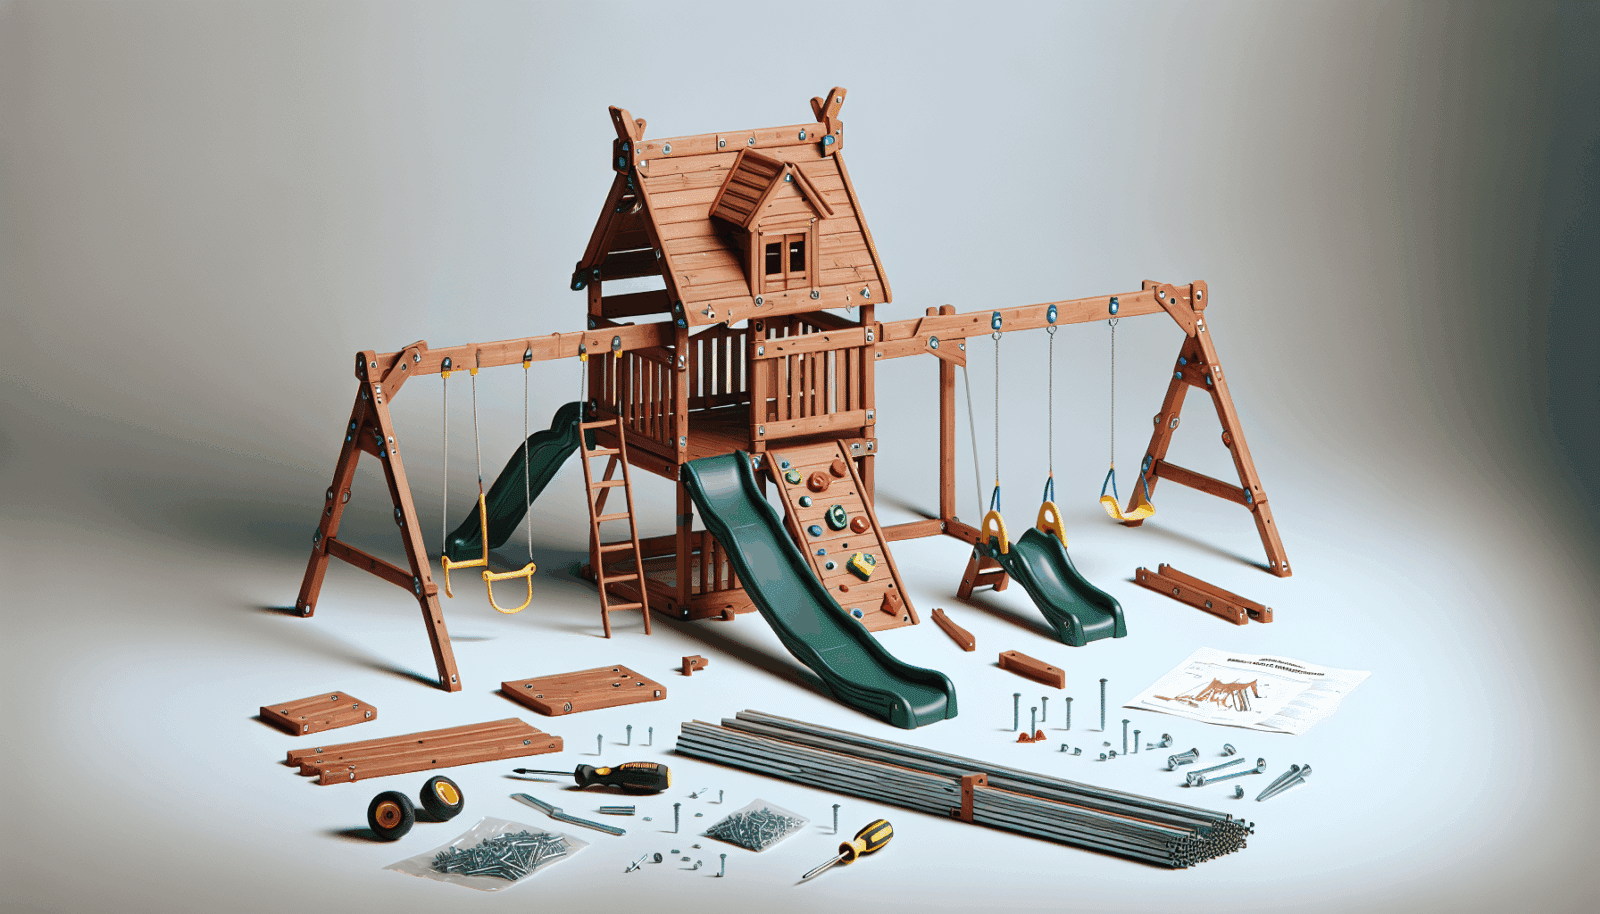
At Utah Playset Builders, we understand that assembling a backyard playset can seem like a daunting task. Many homeowners are eager to see their children playing and having fun, yet the maze of bolts, beams, and instructions can be overwhelming. Fear not! This guide is designed to help you tackle the assembly of your backyard discovery playset with ease, allowing your children to enjoy their new play space in no time. Whether you’re a DIY enthusiast or a first-time builder, we’ve got you covered.
Contents
Understanding Your Playset Parts
Before diving into assembly, it’s essential to become familiar with the components of your playset. You’ll find it much easier to tackle the assembly process once you’ve identified all the parts and their functions.
Inspect the boxes and separate parts based on type, such as beams, swings, and slides. This organization will give you a visual understanding of what goes where.
Take time to read through the manual. It may seem tedious, but knowing what to expect in each step can prevent future headaches and errors in construction.
Gather All Necessary Tools
A successful assembly begins with having the right tools on hand. Most projects stall due to missing equipment, so let’s make sure that doesn’t happen!
- Power Drill: A reliable power drill speeds up the process, making it easier to secure beams and components firmly.
- Wrench Set: Coming in different sizes, these are crucial for tightening bolts and ensuring stability.
- Measuring Tape: Accuracy is key. Ensure you have a trusty measuring tape for precise alignment and spacing.
- Rubber Mallet: Gentle but firm adjustments can be made using a rubber mallet without damaging the playset pieces.
- Ladder: Reaching higher connections safely requires a sturdy ladder. Safety first!
Preparing the Area
Now that you have your tools and parts ready, it’s time to prepare the site where the playset will stand. A stable foundation is crucial for both safety and enjoyment.
Clear the area of debris, rocks, and anything else that might interfere with the setup or use of the playset. Ensuring a smooth, level surface will ease the assembly process and prevent any future instability.
Consider laying down safety mats or a play area foundation to further cushion any falls. It’s a great way to enhance both safety and aesthetics.
Following the Instruction Manual
Instructions are your best friend during assembly. Although they can sometimes seem complex, they offer a step-by-step path to success.
Begin by following the instructions precisely. Resist the temptation to improvise or skip steps, as this could compromise the playset’s stability.
If you’re ever confused, a quick search online for video tutorials or reaching out to us for guidance can save time and avoid errors.
Building the Frame
With parts understood and tools at the ready, it’s time to construct the main frame of the playset. This is where the fun begins!
Start by assembling the base frame, ensuring all pieces are securely bolted and level. This foundational strength supports the entire structure.
Gradually build upwards, following each section’s steps methodically. Patience is key to ensuring accuracy and safety.
Attaching Swings and Slides
Now that the main frame stands tall, it’s time to add the features that create fun and excitement: swings and slides.
Begin with the swings, double-checking shackles and attachments to guarantee safety. A secure swing promises hours of joyous play.
Next, install the slide, ensuring it’s angled correctly and securely affixed. Test its firmness before letting children use it to ensure safety.
Testing for Safety
Safety is our top priority. Before allowing play, ensure every component is as secure as possible.
Walk around and inspect each connection point, bolt, and beam. If anything appears loose, tighten it immediately.
Once you’re confident in the structure’s integrity, invite a second pair of eyes for an added assurance level. Safety checks should be thorough and leave no stone unturned.
Regular Maintenance Tips
Once assembled, keeping your playset in top condition ensures years of fun. A little regular maintenance goes a long way!
- Check Regularly: Inspect the structure for any wear and tear, focusing on joint areas and moving parts.
- Reapply Sealant: UV rays and weather can affect the wood. Reapply a suitable sealant annually to protect it.
- Tighten Bolts: Periodically check and tighten any loose bolts to maintain the structure’s stability.
- Clean the Surface: Wipe down surfaces to remove dirt, sap, and any other residues that might accumulate.
- Apply Lubricant: For metal parts, applying lubricant can keep the swings and moving components working smoothly.
Inviting the Fun
With the playset now complete and secure, it’s time to invite the kids to test it out. Their laughter and joy will be the ultimate reward for your hard work.
Introduce them to each feature, explaining its use and any safety rules to follow. Establishing safe play habits is best started early.
Encourage imaginative play and creativity with games and challenges suitable for the playset’s design. The backyard is now a stage for endless adventures.
Conclusion
Congratulations! Your Backyard Discovery playset is ready for action. If you need help or have questions, contact us at 801-405-3954 or request a free quote.


