At Utah Playset Builders, we understand the sheer excitement of having a brand new playset waiting to be assembled in your backyard. However, we also know that putting it together can seem like a daunting task. Never fear! We’ve created this comprehensive guide to make the assembly process a breeze. Follow along to ensure your playset is safely and efficiently put together, ready for endless family fun.
Contents
- 1 Unpacking and Organizing Your Playset
- 2 Reading the Manual Thoroughly
- 3 Setting Up a Solid Foundation
- 4 Building the Main Structure
- 5 Installing Swings and Slides
- 6 Adding Safety Features and Accessories
- 7 Conducting a Final Safety Check
- 8 Encouraging Family Participation
- 9 Maintaining Your Playset
- 10 Conclusion and Next Steps
Unpacking and Organizing Your Playset
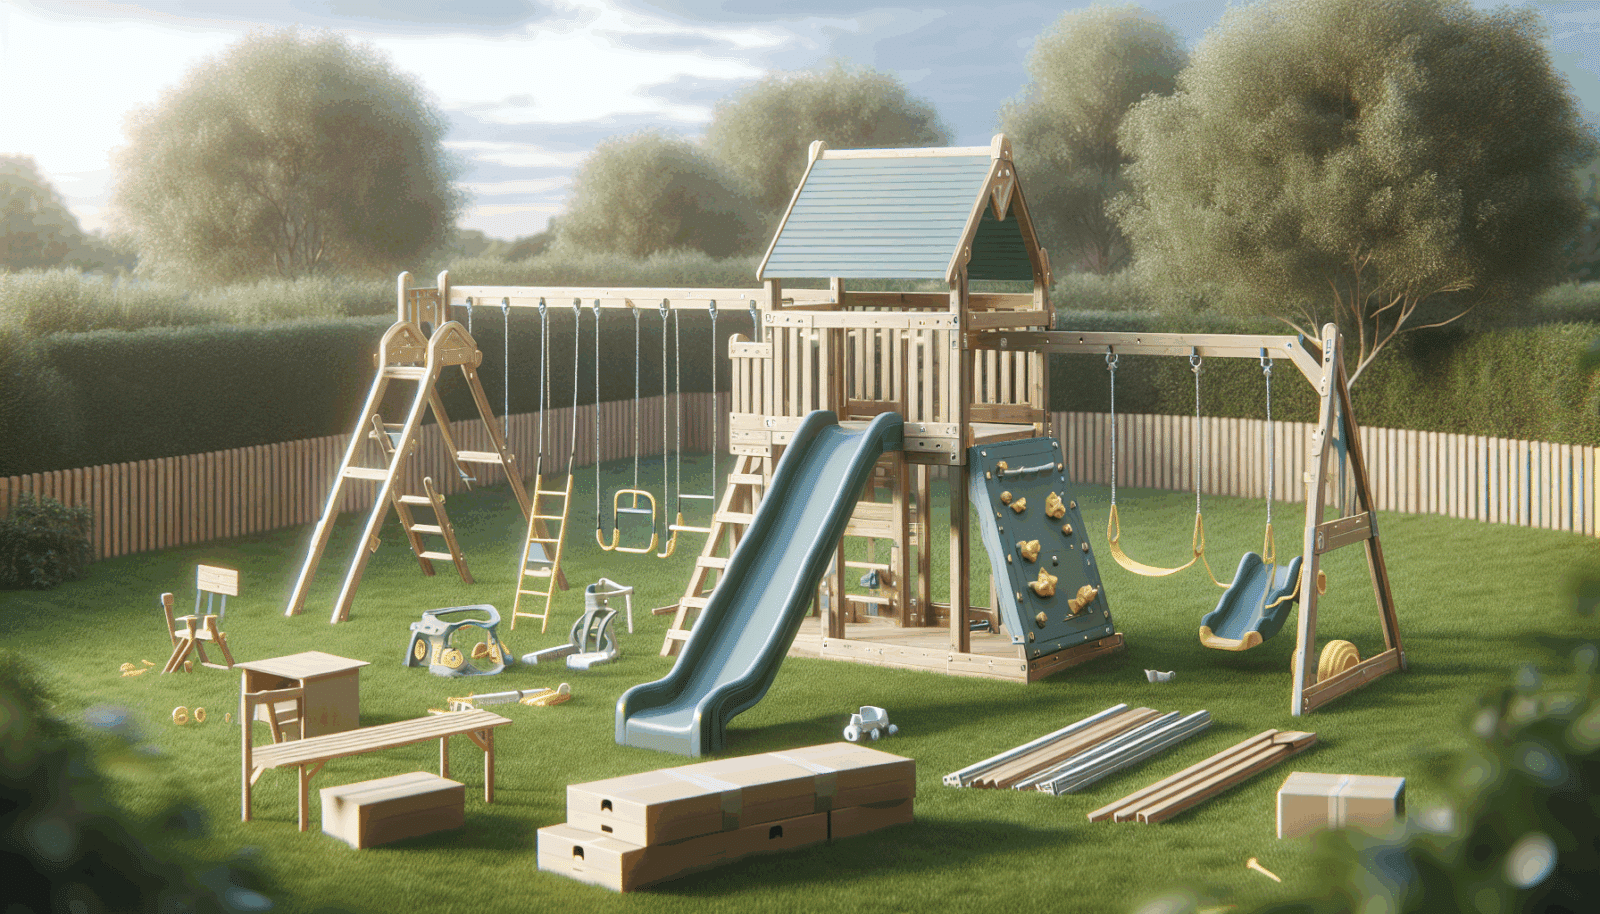
Before diving in, let’s make sure everything is in order. Start by unpacking all the components and laying them out in an organized manner. This initial step can save you both time and frustration down the line.
You’ll want to check each item against the provided manual to ensure all parts are accounted for. Missing parts can halt your progress and lead to head-scratching moments. Gather your tools as well, making your toolkit a vital companion in this assembly adventure.
Consider sorting the pieces according to their sections. Grouping similar items together helps streamline the process, creating a smooth path from start to finish.
Reading the Manual Thoroughly
It might not be the most thrilling part, but reading the manual thoroughly before you start is crucial. Familiarize yourself with the instructions to avoid unnecessary hiccups.
Each playset has its unique assembly pathway, and understanding it from start to finish gives you the upper hand. This proactive approach makes the subsequent steps feel intuitive rather than overwhelming.
Keep the manual close by during the build. It acts as your trusty navigation guide whenever you encounter tricky parts or need reassuring guidance.
Setting Up a Solid Foundation
Every playset’s journey begins from the ground up. A solid foundation ensures safety and longevity, giving your children a secure area to play.
Selecting the right spot is key. Choose level ground to avoid any wobbling or tilting. You may need to mow the grass or clear debris for an even surface. This foundation will support the upcoming adventure playground.
Use the anchoring kit provided, as stabilizing your playset not only enhances safety but also retains the structure’s sturdiness. This peace of mind allows you to focus on building without any concerns.
Building the Main Structure
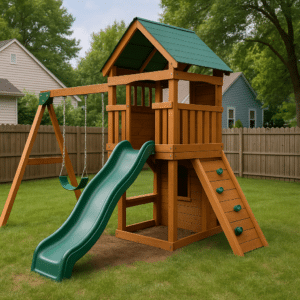
Now that you’re grounded, let’s get to the core of the playset—its main structure. This part includes beams, slides, swings, and more.
Start by assembling larger components, such as support beams and main frames. Having an extra pair of hands is beneficial here, ensuring stability as you connect each piece. It’s the teamwork that makes the dream work.
Once the framework is complete, you’ll start noticing the playset taking form. It’s a thrilling milestone, as each piece you add brings your vision a little closer to reality.
Installing Swings and Slides
What’s a playset without swings and slides? These elements are the heart and soul of the playground experience.
Focus on affixing the swing bars securely. Double-check that all bolts and nuts are tightened properly, ensuring the safety of your little adventurers. Your diligence here promises endless hours of swinging joy.
Slide installation might require a steady focus, aligning each section carefully. When installed correctly, this sliding chute turns smiles into laughter as children glide gleefully.
Adding Safety Features and Accessories
With the main structure and fun elements in place, it’s time to add some finishing touches while focusing on safety.
- Padded Mats: Place these around high-traffic areas to cushion potential falls, enhancing the safety of every tumble.
- Enclosed Ladders: Adding protection to ladders prevents slips and provides safe climbing adventures.
- Safety Handles: These are especially useful on slides and climbing areas, giving children something sturdy to grip.
- Weatherproof Seals: Applying these ensures your playset withstands the elements, preserving its longevity.
- Decorative Flags: Add some flair to your set, making it as visually appealing as it is fun to play on.
Conducting a Final Safety Check
Before declaring your playset open for business, conduct a thorough safety inspection. This step ensures everything is as it should be, offering peace of mind.
Go over each connection point, confirming that bolts and screws are secure and that there are no sharp edges. During this final pass, pay close attention to moving parts such as swings and moving joints.
Inviting another adult to help with this check is a great way to catch anything you might have missed. A fresh set of eyes can spot potential issues early, saving you time and effort.
Encouraging Family Participation
Why not make the assembly a family affair? Involving children, under supervision, turns this task into a bonding opportunity.
Children love being part of projects, especially when the outcome is a source of endless fun. Giving them small tasks helps them feel included and teaches invaluable lessons about collaboration and perseverance.
This hands-on experience concludes with them helping unveil the playset, resulting in memories and trust in their newfound playground.
Maintaining Your Playset
Once built, maintaining your playset is key to prolonging its life and ensuring ongoing safety and enjoyment.
Regular inspections are wise, spotting wear-and-tear early and allowing for timely repairs. Focus on moving parts that endure the most stress with every play session.
Periodical cleaning is also advisable, keeping the playset in tip-top shape and ensuring a healthy play environment for your children every season.
Conclusion and Next Steps
And there you have it—your stunning playset is ready for action! For any assistance, reach out to Utah Playset Builders at 801-405-3954 or request a free quote.


