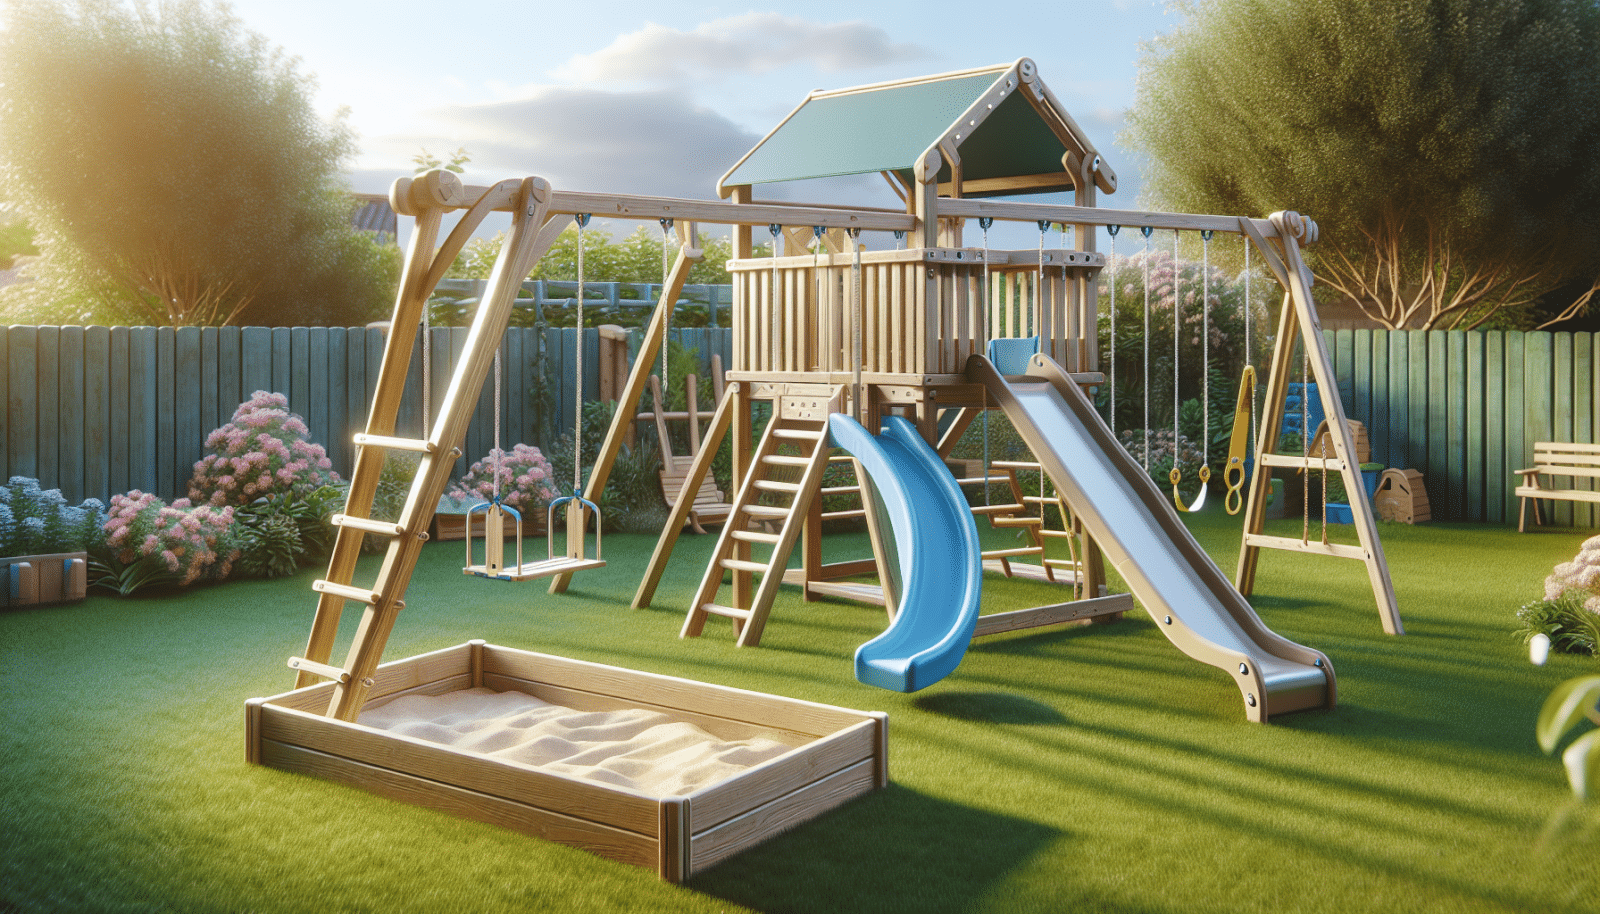
Assembling a yardcraft playset can sometimes feel like a daunting task, especially when you’re eager to have your kids enjoying their new playground. At Utah Playset Builders, we’re here to make the assembly process straightforward and speedy. This article will walk you through the steps to quickly set up your YardCraft playset, making it fun and efficient. Let’s dive in and get your backyard ready for playtime enthusiasm!
Contents
Gather Your Tools
Before embarking on this exciting assembly adventure, you’ll want to gather all necessary tools. Most of the tools you probably already have in your toolbox. Grab a tape measure, hammer, level, screwdriver, socket wrench, and an electric drill. Having your tools ready will not only save you time but also some minor frustration down the road. Starting off prepared sets the stage for a smooth and successful assembly process.
Unpack and Organize
Unpacking your playset may feel like opening a present, but it’s crucial to stay organized. Spread all the pieces across your lawn or garage to avoid confusion later. Once everything is in sight, check off items against the manufacturer’s list. Missing parts? Reach out to us to get replacements right away. We promise, a little prep time upfront will save you from headaches later on!
Read the Instructions
We know, you might be tempted to dive right in but hold steady! Reading the instructions will give you a comprehensive understanding of the task at hand. The playset instructions are your treasure map, leading you to a whimsical backyard oasis. Take a minute to read through them thoroughly, noting any special hardware or key steps. Always follow the manufacturer’s guidelines to ensure safety and proper installation.
Prepare the Site
Site preparation is crucial for both safety and enjoyment. Make sure the ground is level and clear of any debris. You may need to do a bit of yard work; consider removing rocks, sticks, or any obstructions. A smooth surface will not only make assembly easier but also keep the playset sturdy. Take this opportunity to choose the best spot for your playset, ideally with some shade for those sunny days.
Assemble the Base
The base of the playset is foundational in many ways. Follow the instructions to attach the pieces, ensuring every bolt is tightly fastened. This is where your level comes in handy, as you’ll want to double-check the evenness. Assemble the base on flat ground to mitigate wiggles later. Remember, a strong base equates to a safe playset ready for action!
Construct the Support Beams
Next, it’s time to piece together the support beams. These beams are the backbone of your playset, ensuring durability over years of use. Be sure to measure twice, drill once, and secure every connection point firmly. This is where teamwork can shine, so rope in a family member or friend for assistance. After all, many hands make light work!
Install the Platforms and Swing Beams
With the base and supports standing tall, the platforms and swing beams are the next steps. Carefully position and attach these key components according to the guide. These puzzle pieces make the playset inviting and adventurous. Give each bolt an extra twist for security, and soon you’ll see your playset taking shape gloriously.
Secure the Slides and Ladders
Here’s where the fun elements come into play. Attaching the slides and ladders should be intuitive. Delve into the importance of bolting down slide mounts and double-checking ladder stability. Slides and ladders are the epicenters of fun, and proper installation ensures endless play possibilities. Test each component thoroughly before allowing exploratory climbs.
Add the Finishing Touches
Now we’re getting to the exciting part—personalizing your playset. Assembling the decorative elements, like the steering wheels, binoculars, or any accents, adds personality and charm! This step often brings everything together visually, making your playset not only functional but also beautiful. These little touches will leave your kids amazed.
Checklist for Final Inspection
We believe in being thorough at Utah Playset Builders. Use this checklist to verify that everything is secure and ready:
- Tighten all bolts: Ensure each one is secure to prevent wobbles or accidents in the future.
- Check stability: Walk around the playset, gently pushing each structure to test its steadiness.
- Examine connections: Look for gaps or loose fittings between playset parts.
- Survey the area: Verify that the surrounding area is clear of hazards that could interfere with playing.
- Test safety elements: Confirm that slides, ladders, and swings operate smoothly and safely.
Conclusion
Once you’ve completed these steps, take a big deep breath and sneak a glance at your handiwork. We hope this guide made assembling your YardCraft playset feel like a piece of cake. If you need further assistance, don’t hesitate to reach us by phone at 801-405-3954 or request a free quote.


