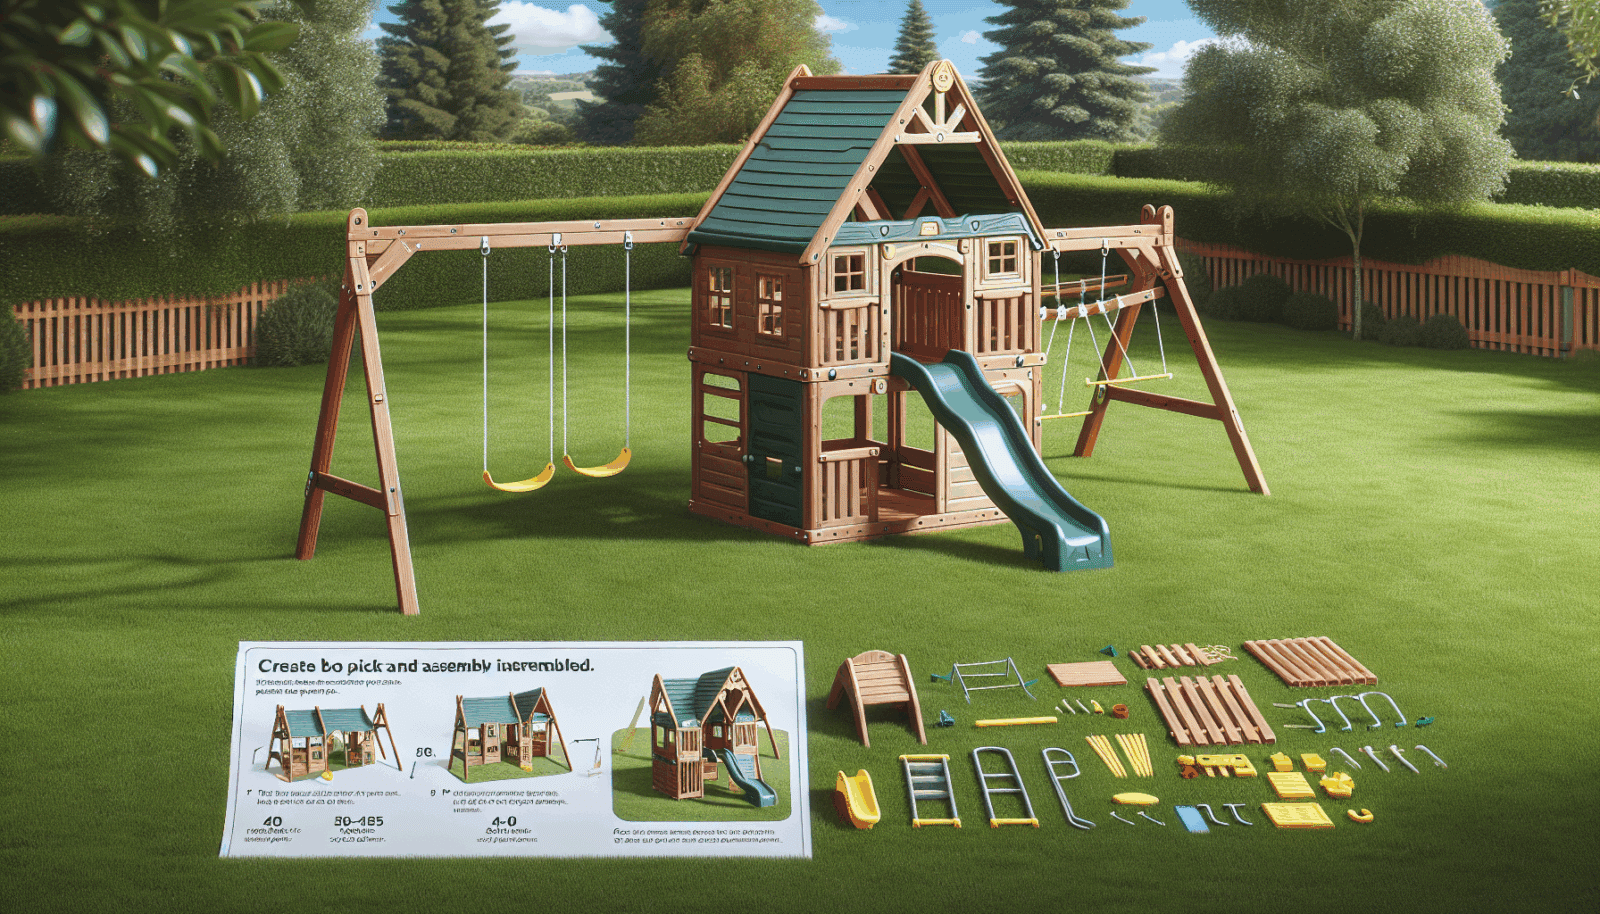
kidkraft Playset Assembly can feel overwhelming, especially when you’re staring at a pile of parts and an anxious crew of little ones waiting to play. At Utah Playset Builders, we understand the challenge homeowners face when it comes to assembling these beloved backyard gems. Luckily, this guide will take you step-by-step through the process. Whether you’re a seasoned DIY-er or a first-time builder, we’ll ensure your playset comes together smoothly and safely, providing endless joy for your children.
Contents
Unpacking the Playset
First things first, let’s dive into that box of fun! Carefully unpack the contents and lay everything out on a spacious surface. This helps you double-check all parts and prevents minor pieces from disappearing into the great unknown. Organization is key here, making future steps much more manageable.
Take a look at the instruction manual and give it a quick read. Familiarize yourself with the parts and the overall process before diving in. Although it may seem tedious, understanding the guide from the get-go can save you time and headaches later.
Organize Your Tools
Every project is easier with the right tools. Gather all the necessary equipment for the assembly. Most KidKraft playsets require some basic household tools. Ensure you have a screwdriver, a wrench, and a mallet on hand. A power drill can make your life a lot easier, saving time and giving you a smoother build experience.
Having your tools organized and within reach will keep the process flowing. Always double-check the manual for any specific tools that might be needed for your particular model.
Check for Missing Parts
Before you start connecting the dots, it’s crucial to ensure that you have everything you need. Missing parts can halt progress, leading to frustration and delays. Lay out each piece and cross-reference with the parts list in your manual.
If you find something missing, contact KidKraft’s customer service. They are usually quite quick to replace missing pieces, ensuring your assembly won’t be delayed for long.
Read Safety Precautions
Safety first! This is not just a mantra but a necessity, especially when it comes to your kids’ playset. Review all safety guidelines provided by KidKraft. Ensure the assembly follows these guidelines meticulously to keep your little ones safe.
Properly anchoring the playset to the ground is a crucial safety measure. Always follow the kit instructions for securing the base and placing the structure on even ground.
Start with the Base
A sturdy base is the foundation for fun. Begin assembling the base by securing each piece according to the instructions. Ensure all screws are tight and that the structure is level. The base will support the rest of the playset, so take the time and ensure it’s as solid as a rock.
Leveling the base is important for stability. Use a level to check your work periodically. Once you’re confident everything is secure, you can move on to the exciting stuff.
Building the Frame
Now that the base is ready, it’s time to start building the frame. This is where the structure starts to take shape, revealing a glimpse of the fun to come. Carefully follow the instructions for attaching the beams and supports, making sure everything is secure.
Double-check each joint for stability. Situated correctly, the frame will be a sturdy skeleton to support the exciting features of your playset.
Attach the Features
Here comes the fun part! Attaching the swings, slides, and climbing walls is where your playset starts to shine. Each attachment will require specific steps, so read through them carefully to avoid any missteps.
This stage often involves more intricate details, so patience will be your best friend. Follow the manual precisely, ensuring each feature is safely secured to the frame.
Add the Finishing Touches
With the main structure in place, it’s time to give your playset a bit of flair with the finishing touches. Attach any decorative elements, such as flags or banners. This is also a good time to double-check all bolts and screws, ensuring everything is tightly secured.
Consider adding a coat of weather-resistant sealant to extend the lifespan of your playset. Protection from the elements can keep the wooden parts looking great for years to come.
Maintenance Tips
Caring for your playset is crucial for safety and longevity. Follow these maintenance tips to keep everything in top condition.
- Regularly Inspect: Check for loose bolts, cracked wood, or any other potential hazards.
- Clean Seasonally: Wash off dirt and debris to prevent build-up and staining.
- Seal Wood Annually: Apply a protective finish annually to keep the wood looking fresh and protected from weather.
- Check Ground Anchors: Ensure your playset is firmly rooted to avoid tipping over.
- Replace Worn Out Parts: Swiftly replace any degraded components to maintain safety and enjoyment.
Conclusion
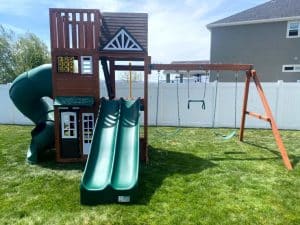
Once your playset is complete, step back and admire your hard work. Your backyard has transformed into a hub of fun and creativity, ready for those cherished childhood memories. Don’t forget to put your tools away for your next DIY adventure!
Call Utah Playset Builders by phone # 801-405-3954 or request a free quote. We’re here to make your dream playset a reality!


