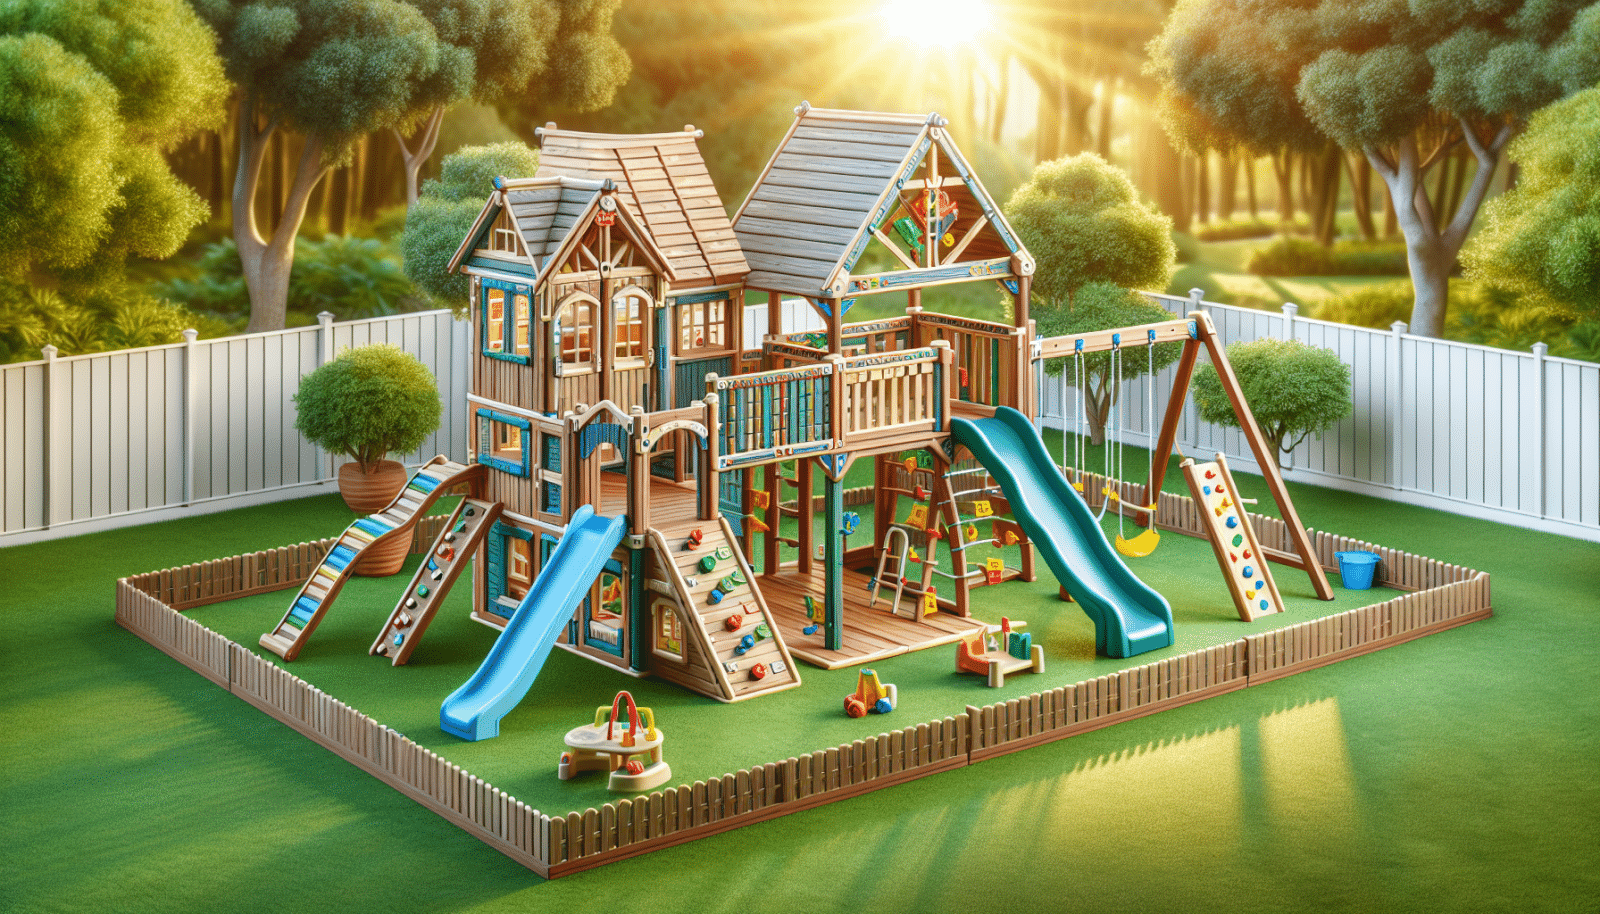
Welcome to the ultimate guide on mastering the art of creative playthings playset assembly! At Utah Playset Builders, we understand how daunting it can be to assemble a playset for your kids. However, we’re here to simplify the process and make it fun, ensuring you can give your children the backyard of their dreams. If you’re in our service area and need assistance, we’ve got you covered. Let’s dive right in!
Contents
Understanding Your Playset
Before you even pick up a screw or wrench, it’s crucial to understand what you’re working with. Familiarize yourself with all parts, pieces, and the instructions that come with your playset. Doing this will make the entire assembly process smoother and more enjoyable.
Start by laying out all components and organizing them by type and size. This will help you avoid confusion later on. Additionally, read through the entire instruction manual to get a sense of the different stages involved in the assembly.
Keep in mind that knowing your playset well gives you a head start. You’ll be better prepared and can anticipate potential challenges, making the whole experience much more efficient.
Gathering Essential Tools
No assembly project can be completed without the right tools. Ensure you have a toolkit that includes screwdrivers, wrenches, a rubber mallet, and a power drill. You’ll also need measuring tape and safety gear like gloves and safety goggles.
Having all these tools on hand will save you multiple trips to the garage or toolbox. You’ll find that everything runs smoother when you’re well-prepared.
Moreover, remember that your playset may require some specialized tools. Double-check your instruction manual for any specific items you may need.
Choosing the Perfect Spot
Location is everything when it comes to setting up a playset. You’ll want to pick a spot that offers ample space for kids to play freely and safely.
First, consider the ground material. Ideally, the area should be flat and solid. Grass, mulch, or rubber mats are great options for providing a soft landing in case of falls.
Secondly, think about proximity to your house. You’ll want to monitor your kids easily without much hassle. So, a spot visible from a window or patio door would be ideal.
Foundation and Ground Preparation
Preparing the foundation is perhaps one of the most critical steps in playset assembly. A solid foundation ensures stability and safety for your kids.
Begin by clearing the selected area of any debris, rocks, or roots. Then, level the ground to make sure it’s even.
Next, you can either lay down some mulch or rubber play mats. Not only do these materials provide extra cushioning, but they also help in keeping weeds at bay.
Step-by-Step Assembly
This is where the magic starts happening. Begin the assembly process by following the steps outlined in your instruction manual. We recommend tackling the playset in stages.
First, assemble the larger components such as the main supports and beams. This will provide a solid structure to attach other parts.
Then, proceed to smaller elements like slides, swings, and ladders. Doing it this way ensures that all parts are securely connected.
Ensuring Safety Features
Safety is paramount when setting up a playset. Make sure you incorporate all the safety features outlined in the instruction manual.
Check that all nuts and bolts are tightly fastened to avoid any wobbling. Use safety caps to cover exposed screws and sharp edges.
Additionally, ensure that swings and other moving parts are securely attached and have sufficient clearance around them.
Adding Creative Elements
Now comes the fun part – adding those creative touches that make your playset unique and engaging for your kids. Think of ways to personalize it.
Consider adding climbing walls, rope ladders, or even a small fort area. These elements can significantly enhance the play experience for your children.
Don’t hesitate to get creative with colors either. A splash of bright paint or some themed decals can make a world of difference.
Final Checklist
Before you let the kids loose, it’s vital to go through a final checklist to ensure everything is in place and safe to use. Here’s a handy 5-point list to follow:
-
- Check Stability: Ensure the playset is firmly anchored to the ground and does not wobble.
-
- Inspect Fasteners: Verify that all screws, nuts, and bolts are tightly secured.
-
- Test Moving Parts: Swing, slide, and climb on each element to test for safety and durability.
-
- Review Safety Features: Confirm that all safety caps and covers are properly installed.
-
- Clean Up: Remove any tools or construction debris from the play area.
Maintenance Tips
Keeping your playset in top condition requires regular maintenance, but it need not be a chore.
Regularly inspect the playset for any signs of wear and tear. Check the fasteners, wood, and any moving parts.
Also, clean the playset periodically to remove dirt and grime. This helps in keeping it looking new and prolongs its lifespan.
Getting Professional Help
Sometimes, no matter how prepared you are, the playset assembly can get complicated. That’s where we come in.
At Utah Playset Builders, we’re experts in making your backyard dreams a reality. If you find yourself stuck or simply don’t have the time, give us a call.
We offer professional assembly services that ensure your playset is safely and correctly installed.
Conclusion
There you have it – your comprehensive guide to mastering the art of creative playthings playset assembly. For professional assistance, contact Utah Playset Builders by phone # 801-405-3954 or request a free quote.


