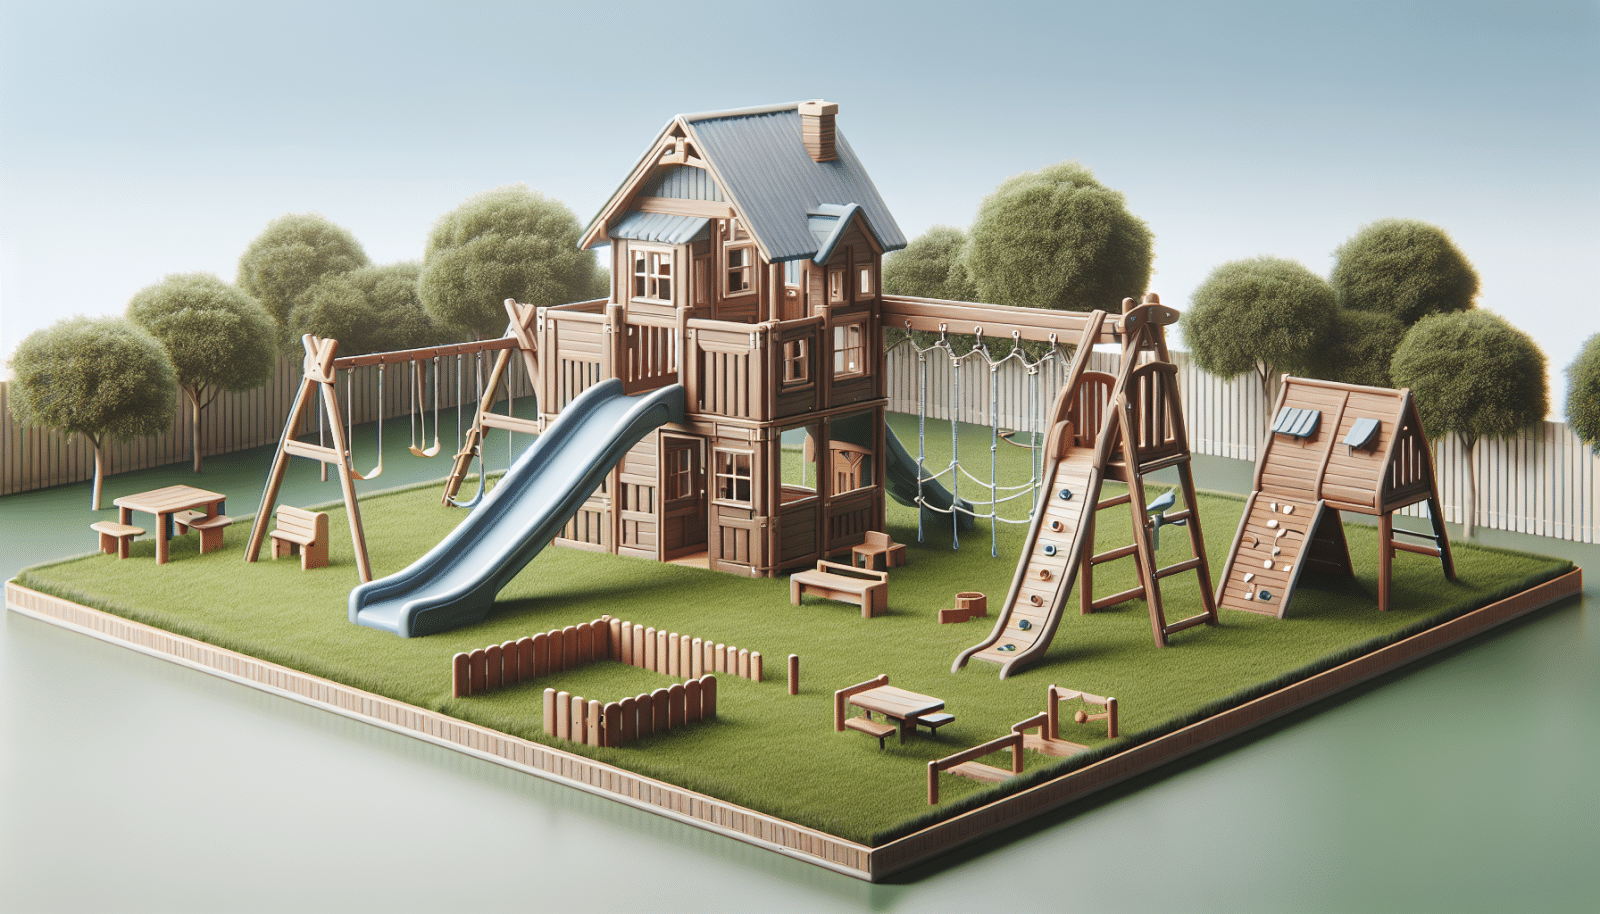
Welcome to the exciting world of playset assembly! Whether you’re a school administrator or a curious homeowner, turning an ordinary playground into a thrilling adventure zone can be a substantial task. Yet, worry not—Utah Playset Builders are here to guide you through the process with our step-by-step playset assembly guide, tailored to educate and inspire. Dive into the fun, and let’s transform those bland playgrounds into exhilarating play havens!
Contents
- 1 Getting Started with Your Playset Project
- 2 Gathering Your Tools and Materials
- 3 Laying Out Your Pieces
- 4 Getting into the Groundwork
- 5 Uprighting the Support Structures
- 6 Connecting the Main Components
- 7 Enhancing with Safety Features
- 8 Testing and Adjustments
- 9 Invitation to Play
- 10 Conclusion and Final Steps
Getting Started with Your Playset Project
Embarking on a playset assembly adventure often starts with a spark of imagination. But before you can see those epic swing rides and slides, groundwork preparation is essential. Clearing the playground area not only ensures a smooth installation but also prevents pesky post-assembly problems. The thrill of installation heightens much like building a giant puzzle as you see pieces clicking into place.
An important first step is surveying the ground. Proper preparation here will significantly mitigate any upcoming challenges. Make sure the area is level, free from debris, and adequately sized to accommodate the kind of fun the kids will have. You may want to enlist a trusty toolkit and some passionate community volunteers to lay the foundation.
Gathering Your Tools and Materials
Awaken your inner builder! With tools in hand and materials at the ready, your journey into playset assembly takes its true shape. Ensure you have all parts and nuts checked off against your parts list; nothing halts momentum like chasing up missing pieces.
Common tools will include power drills, levelers, wrenches, and occasionally a sledgehammer for those stubborn pieces. Professional installers might bring an assortment of other handy gadgets, yet as a do-it-yourselfer, you’ll be armed with trusty basics.
Laying Out Your Pieces
The clarity of vision turns chaos into creation as you place each piece in its destined location. A well-thought-out layout not only optimizes space but also enriches the play experience with a flow kids will love. Spontaneity is great, but an organized approach keeps surprises at bay.
Spread out assembly parts in a sequence that aligns with your assembly instructions. Consider labeling sections with masking tape if the project extends over a few days. Keeping safety edges or barriers around sharp tools ensures youthful curiosity doesn’t meet unwanted harm.
Getting into the Groundwork
Installing footing trenches or ground anchors is akin to giving your playset roots—it’s the sturdy bassline to your playground symphony. Good anchoring practices lead to playsets that sway with laughter instead of tipping precariously. And guess what? Strategically placed anchors also double up as confidence-boosters for you, the installer.
Be generous with time spent on this again; uneven grounds are like invitations for stumbling, which we definitely want to avoid. Concentrate the anchors deeper, especially in areas notorious for soft soil or frequent rain. Measure twice, dig once!
Uprighting the Support Structures
The structural stalwarts—the beams and posts—are now ready to face the world! As they rise, these core components breathe life into your skeletal framework. Ensuring they are all perfectly vertical is crucial to ensuring the playground is as durable as it is fun.
A level is your best friend here as you affirm stability and balance. Fasten connections securely but watch out for overtightening; you want it snug, not crushed. Remember, support structures are like frame pillars; they keep the thrill steady.
Connecting the Main Components
With your support structures firmly in place, it’s time to add substance—the swings, slides, and towers that kiddos dream about. This step is filled with excitement, like decorating a cake with the world’s best frosting!
Follow the assembly guide meticulously during this stage. Each component often holds a safety code or weight limit, so ensure all attachments meet specified guidelines. Firm shaker tests can be a fun way to gauge how securely a swing, for instance, has been installed.
Enhancing with Safety Features
It’s no surprise that safety toppings turn ordinary playgrounds into extraordinary playgrounds! Accidents know no age, and as the superheroes of this playground saga, foresight should be our superhero mantra.
- Cushioning around structures ensures softer landings in the venture rolls and tumbles. Whether opting for rubber mulch or sand, both options aid in absorbing impact.
- Cover loose edges and bolts with caps or padding. Protruding objects are hazards, easily avoided with a bit of foresight and padding love.
- Regular maintenance schedules should include tightness checks and remulching. A well-worn path often means a history well-played on.
- Prohibit dangerous behavior with clear signage. As much as we adore mavericks, safety takes precedence in shared play spaces.
- Educate the kids on safe use; make it a fun, learning moment with demonstrations.
Testing and Adjustments
You wouldn’t buy a new car without taking a test drive, and playsets deserve the same treatment! Before opening the gates to all, ensure your newly crafted playground withstands both rigorous and playful assessments. Overlooked defects quickly reveal themselves when put to the test under real-world conditions.
Bring in a small troupe to explore, listen for creaks as if listening to ghost stories, and feel for stability like a human-enhanced stress test. Adjust with your trusty set of tools, polishing until every shackle sings a note of reliability.
Invitation to Play
With everything in perfect alignment, a ribbon-cutting ceremony awaits. Kids are the true avatars of joy, and their laughter transforms your workmanship from a simple structure of nuts and bolts into a vibrant land of fantasy.
An official opening can be an opportune moment to educate parents and caregivers about maintenance commitments. Collaboration strengthens community bonds, ensuring no stone is left unturned in the joyous journey of play!
Conclusion and Final Steps
Congratulations on your successful playground odyssey! Each step elevated your space into a haven where joy is perpetual. In your role as protector of play, let safety reviews be part of the annual ritual. To install your own playful paradise, reach out to us at 801-405-3954 or request a free quote!


