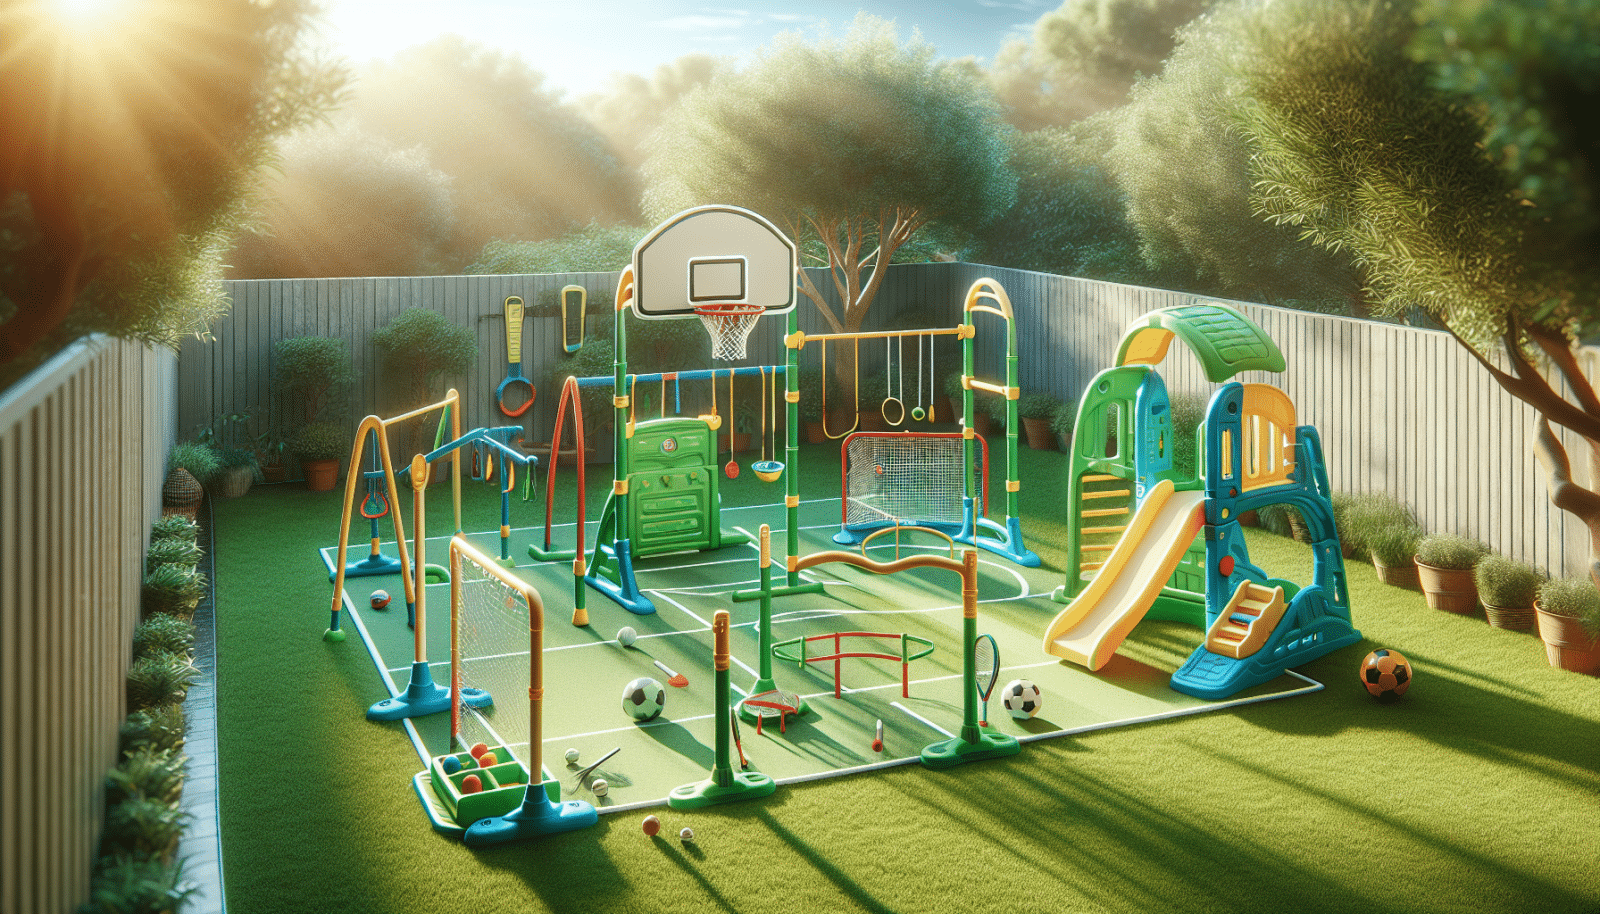
Are you ready to bring joy and excitement to your backyard? The sports power Playset is a fantastic addition to any home, offering endless fun for your kids and peace of mind for you. However, we understand that assembling these types of playsets can be a daunting task. That’s where Utah Playset Builders comes to the rescue with this step-by-step guide! Today, we’ll walk you through the assembly process to ensure your family’s new play paradise is safe and sound.
Contents
Preparation and Planning
In assembling your playset, the secret is all in the prep work. A seamless experience awaits those who dedicate time to preparation before getting their hands dirty. First and foremost, familiarize yourself with the playset components. Lay them out and ensure that all parts are accounted for. Missing pieces can stall your project faster than a snowstorm in spring. Organize all the tools you’ll need, such as a drill, sockets, and wrenches, in one place. This will save time and frustration as you won’t have to search for tools midway through the assembly.
Next, think about safety. Clear the play area of debris, rocks, or anything that could cause harm once the playset is in use. Consider the ground material where you’ll set up the playset. Grass, shock-absorbent rubber tiles, or wood chips provide a softer landing than concrete. Safety first, memories second!
Building the Base
Now that your groundwork is ironed out, let’s start with the foundation. Begin by aligning and assembling the main beam structure. This will serve as the backbone of the playset and ensure its overall stability. Follow the manufacturer’s instructions carefully, lining up and securing each piece with bolts and screws. Use a level to ensure the structure is horizontally accurate — a slanted playset can lead to unwanted accidents.
Having an extra set of hands at this stage can make the process smoother and more efficient. Once the base is set, double-check each connection. Wiggle and prod to ensure nothing is loose. This foundation assembly will set the tone for the remainder of your build.
Constructing the Ladder
Let’s add some adventure to your playset by assembling the ladder next. The ladder is an exciting entry point for eager climbers. Begin by locating the ladder rungs and side rails from your laid-out components. Attach the rungs to the rails using pre-drilled holes and screws.
Ensure that each rung is evenly spaced to provide a safe climb for children of varying ages. Once the ladder is constructed, attach it securely to the main structure with brackets and ensure it doesn’t wobble.
Slide Setup
What’s a playset without a slide? Creating that swoosh of happiness is easier than you think. First, identify the upper platform of your playset where the slide will connect. Align the slide with the chosen platform, checking that the surface is even and stable. Secure the slide with brackets and screws according to the instructions.
Before moving on, conduct a quick test. Make sure it’s securely attached and provides a smooth, unobstructed path down to the ground. A highly anticipated key feature, you’ll want it to deliver thrills from the get-go!
Attaching the Swings
Let’s add some swings to elevate the fun of your playset. Swings are a timeless favorite for kids and can be easily attached with some quick handiwork. Start by installing the swing beam where it will have sufficient clearance on every side while hanging. Attach the swing supports next and secure them to the upper frame of the playset using bolts and nuts.
Ensure the swing hangers are evenly spaced along the beam. This allows each swing to glide smoothly without colliding into each other. Once assembled, it’s crucial to test their stability and make slight adjustments if necessary.
Adding Accessories
Now for the cherry on top—accessories. From telescopes to steering wheels, these features add layers of adventure to your playset. Choose the accessories that your kids will enjoy the most based on their interests and the playset’s capabilities. Install interactive features like a tic-tac-toe panel or chalkboard for endless creativity.
Add adventure elements such as rock-climbing panels or cargo nets, but ensure they’re securely fastened. Consider sensory items like bells or periscopes to stimulate young minds. Plan for future upgrades, leaving room for expansions like monkey bars or rope ladders as your children grow.
Safety Inspection
Before playtime can commence, a careful safety inspection is essential for peace of mind. Walk around the entire playset checking for any sharp edges, loose bolts, or misaligned parts. Pay special attention to high traffic areas like the swing beam and slide attachment points. Test the stability of the structure by gently pushing on it and walking over various attached elements. This test will pinpoint any parts that require tightening or adjustment.
Finally, let your kids explore the set at a slow pace initially, while you supervise closely. Their excitement might miss a wobble that could lead to a tumble. So, stay vigilant!
Final Touches and Personalization
Now that your Sports Power Playset is assembled, let’s make it unique with some personalization! Personalizing the playset can give it character and make it even more special for your kids. Consider adding your family surname or a whimsical title like “Adventure Island” to the set with a painted or engraved sign.
Brighten up the playset with weather-resistant paint or wood stain to give it a pop of color that complements your backyard. You could even add fun decorative elements like flags or bunting that flutter in the breeze. Each touch makes the playset distinctly yours.
Care and Maintenance
Once your playset is up and running, don’t forget about ongoing care and maintenance. Proper care ensures that it stays safe and fun for years to come. Periodically inspect screws, bolts, and swing attachments to make sure they’re secure and not showing signs of wear. Inspect wood components for splits or damage, and repaint or seal any exposed surfaces to prevent wood rot.
During seasonal changes, especially after harsh weather, closely inspect the set to ensure it remains in top-notch condition. Being proactive with care will extend the life of your investment and keep the thrilling adventures going.
contact Utah Playset Builders
Congratulations, your Sports Power Playset is ready for action! At Utah Playset Builders, we take pride in helping families create magical play moments in their own backyards. If you need assistance or wish for a professional hand in assembling your playset, simply call us at 801-405-3954 or request a free quote for any project.


