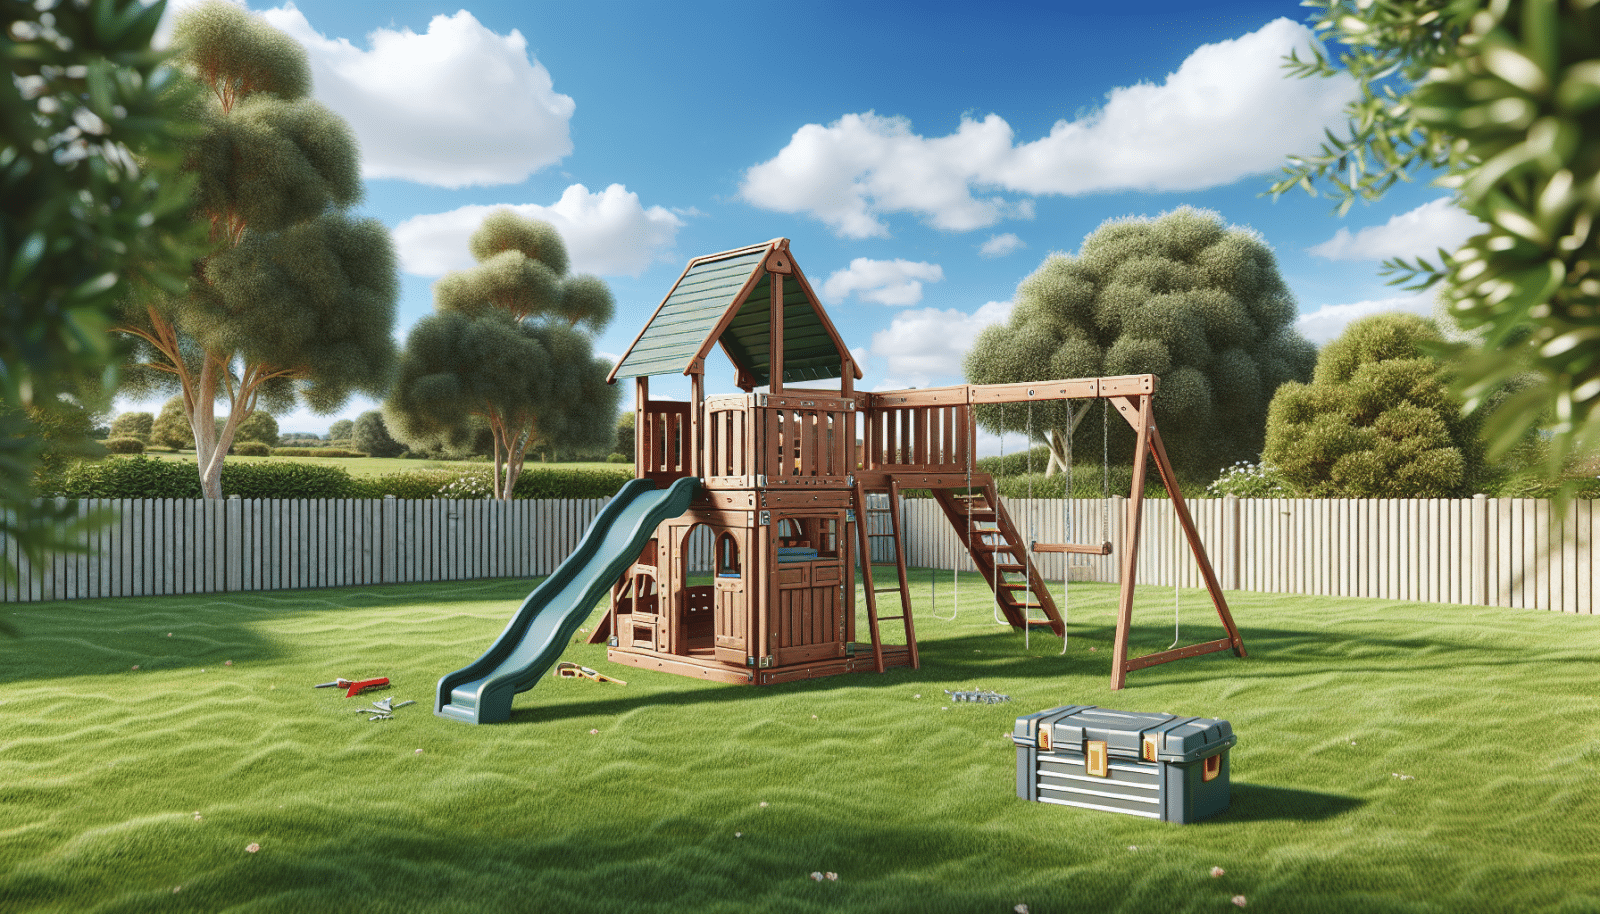
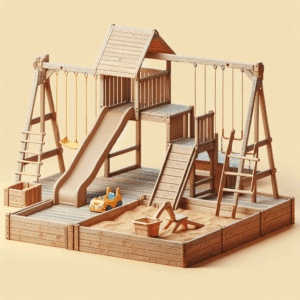
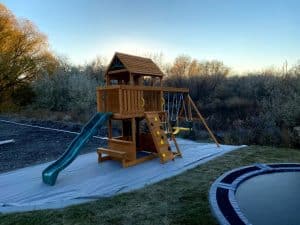
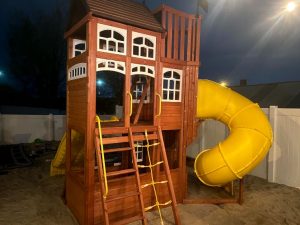
At Utah Playset Builders, we know assembling a TSC playset can pose a challenge for many homeowners. But fear not, as we’re here to guide you effortlessly through the process! In this detailed step-by-step post, you’ll find a tried-and-true solution that ensures success every time. Whether you’re a DIY novice or a seasoned pro, this article will make your playset assembly fun and straightforward. Let’s get started!
Contents
Gathering Your Tools
Before diving headfirst into playset assembly, it’s crucial to have the right tools on hand. This not only saves time but also reduces stress. You’ll need a sturdy set of basic hand tools, focused attention, and some good tunes to keep the momentum going.
Kick off with a standard toolkit that includes a hammer, a set of screwdrivers, a wrench, and a measuring tape. Don’t forget safety gear such as gloves and goggles, either! Having all this at your fingertips will keep you prepared as you tackle each step of the assembly process.
For those more technically inclined—or if you just want to make life a bit easier—consider using a power drill. A leveler can also come in handy to ensure everything’s aligned perfectly. After all, who wants a lopsided playset? Not us!
Organizing Your Space
It’s time to clear out the clutter and set up your workspace. Organization is key when it comes to assembly, ensuring you don’t misplace any vital components.
Choose a spacious area, ideally flat and free from debris. A garage or backyard can work perfectly, but make sure it’s kid-free while you’re working to prevent any accidents. Lay down a tarp or a few old sheets to protect individual pieces from any damage.
Next, arrange all pieces in a logical order. Group similar items together, like beams and screws, which inevitably makes the building process a whole lot quicker and simpler. You’ll appreciate this step later when you’re smoothly putting parts together!
Understanding Your Manual
Why make things harder than they need to be? Properly understanding your instruction manual from top to bottom can set the stage for a successful build.
Begin by flipping through the pages to get a sense of the end goal; this gives you a first-hand view of what your finished playset will look like. Notice details on alignment and connection guidelines that will prevent unnecessary frustration down the road.
While it might be tempting to dive right in—especially when facing a thick manual—we highly recommend sipping a coffee and taking the time to read it thoroughly. A well-read manual equals a well-built playset!
Assembling the Base
All great playsets start with a solid foundation. As you begin constructing the base, make sure you’re on level ground to avoid future issues.
The base supports the entire structure, so follow manual specifications carefully. This involves the initial placement of the main beams and ensuring they are properly anchored.
Pay close attention to connecting the beams securely. This not only enhances safety but also adds to the longevity of your new masterpiece. Tighten all bolts and screws as directed and double-check every joint for stability.
Constructing the Frame
The frame gives your playset its form and function, transforming your project into a structure ready for adventure!
Begin by assembling the outer framework, attaching vertical supports to the beams at the base. It’s important to have an extra set of hands available for this part; balance and height can pose a challenge if alone.
Work sequentially, from one end to the other, ensuring everything aligns and is secure. With each successful connection made, you’re one step closer to a picture-perfect playset!
Building the Towers and Platforms
Now for the fun part! Towers and platforms elevate your playset from simple to spectacular.
Start by identifying the pieces that form the platform floors and accompanying guardrails. It’s important to assemble these parts on the ground wherever possible before lifting them into place. This simple trick makes the construction safer and easier on your back.
Once secure, attach these completed sections to the rest of the frame. Your playset now transforms into a multi-tiered fun area, ready for mini adventurers to explore and climb as their imaginations lead them.
Adding Slides and Swings
What’s a playset without slides and swings? These elements add excitement and offer a dynamic range of activities for kids.
Select the chosen location for your slides and swings, keeping in mind space and safety measures. This stage often involves installing slide support brackets and swing hangers, so follow the manual for exact placement and installation tips.
Double-check that everything is securely fastened before you invite the kids for a test run. These aren’t just any features—they’re your ticket to endless hours of laughter and joy!
Ensuring Safety and Final Adjustments
Safety first! This section ensures your playset is safe and secure for all activities. Below is a list of final adjustments you should make before declaring your playset assembly complete:
- Tighten All Fasteners: Double-check every bolt and screw to ensure they’re secure. A well-fastened structure means a safer play environment.
- Check Stability: Test each component by applying pressure. It should not sway or wobble.
- Smooth Out Rough Edges: Run a fine sandpaper over any rough spots to prevent splinters.
- Verify Safety Rails and Boards: Ensure guardrails and barrier boards are attached as recommended, providing additional safety for all play components.
- Inspect for Hazardous Gaps: Identify and fix any pinching or entrapment points that could harm little fingers or toes.
Completing the Setup
Your playset is nearly complete, but first, let’s add those finishing touches that make it extra special!
Decorate with colorful banners or flags to personalize and add a splash of vibrancy. Consider the use of padding for swings and slides or mats beneath climbing areas to offer added protection.
Don’t forget to clear out leftover packaging and tools; a tidy play area is a safe play area. With everything tidied up, your playset is ready for action. Let the fun begin!
contact Us Today!
If you need help or additional accessories to make your playset dreams come true, reach out to us at Utah Playset Builders by phone # 801-405-3954, or request a free quote. Our experts are always ready to help make your playtime safer and more enjoyable!


