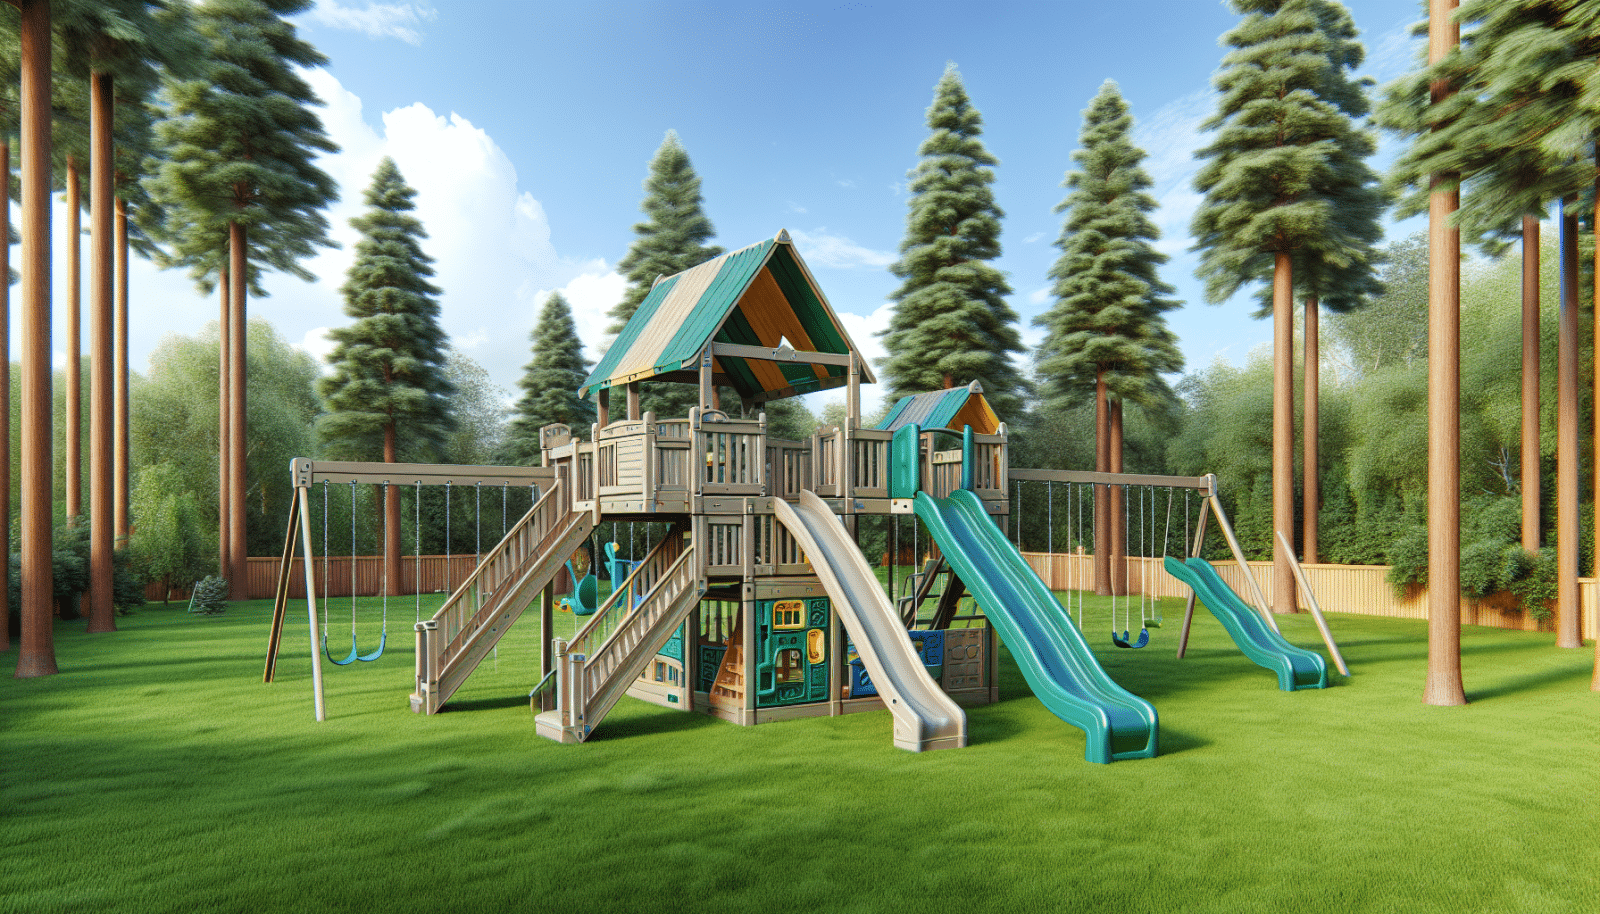
At Utah Playset Builders, we often hear from homeowners who find assembling our Wing-N-Slide playsets a bit daunting. Fret not! This ultimate guide is here to help. Whether you’re a DIY enthusiast or a parent looking to make your kids’ playtime unforgettable, we’ve got you covered with step-by-step instructions and handy tips.
Contents
Why Choose the Wing-N-Slide Playset?
The Wing-N-Slide playset is a hit among families for its versatility and fun design. It’s more than just a playset; it’s a mini-adventure park in your backyard. Kids love the slides, swings, and climbing elements, and parents appreciate the safety features and durability.
The materials used in the Wing-N-Slide playset are crafted to withstand various weather conditions, ensuring longevity. Plus, its modular design allows for customization, making it a favorite for many homeowners.
Tools You’ll Need
Before beginning assembly, gather all necessary tools to make the process smoother. Here’s what you’ll need:
- Power Drill: Essential for drilling holes and tightening screws efficiently.
- Wrench Set: Handy for dealing with bolts and nuts of various sizes.
- Hammer: Useful for securing nails and stakes into the ground.
- Level: Ensures that all parts are correctly aligned and balanced.
- Measuring Tape: Important for making precise measurements to guarantee a perfect fit.
Prepare Your Work Area
Having a well-prepared work area is crucial for a smooth assembly process. First, choose a flat and spacious area in your yard. This helps avoid any alignment issues and makes it easier to maneuver the pieces.
Clear the area of any debris, rocks, or other obstacles. Gather the components of the playset and lay them out for easy access. Double-check that you have all the parts listed in the manual before starting.
Laying the Foundation
The foundation is the backbone of your playset. Proper foundation ensures stability and safety. Start by marking out the dimensions of the base on your prepared ground. This will serve as your guide for positioning the foundational elements.
You may need to dig small indentations for ground stakes if your area is uneven. Place the base beams according to the manual, and use a level to ensure they are even. Secure them using the required hardware, tight and snug.
Assembling the Frame
With the foundation in place, we move on to assembling the frame. This is where your playset begins to take shape. Follow the manual instructions, attaching beams and supports in the specified order.
Remember to double-check each connection point for stability. This is a great time to use your power drill and wrench set. Be meticulous; a strong frame means a stable and safe playset.
Attaching Swings and Slides
Now comes the fun part: attaching the swings and slides. Make sure these elements are secured properly as they’ll bear the brunt of daily use. For the swings, attach the chains to the designated hooks securely.
Test this setup by applying downward pressure to ensure the connections hold firm. For the slides, align them precisely with their corresponding slots and hook them in, reinforcing them with bolts and nuts.
Safety First
Safety is paramount. Here’s a checklist to ensure your playset is secure and ready for play:
- Check Stability: Ensure the playset doesn’t wobble or shift when pressure is applied.
- Inspect Hardware: Tighten all screws, bolts, and nuts to minimize risks of them coming loose.
- Smooth Surfaces: Sand down any rough edges or splinters that could cause injury.
- Safe Grounding: Secure all ground stakes firmly to prevent any parts from lifting or moving.
- Periodic Maintenance: Regularly inspect and maintain the playset to prolong its life and safety.
Decorative Touches
Why stop at just functional? Add some decorative touches to make your playset even more appealing. Consider painting it with vibrant, weather-resistant paint matching your backyard’s aesthetic.
Another excellent idea is to add decorative flags, banners, or even plant climbing vines around the support beams. These little touches can transform a simple playset into a magical playground.
Test Run and Final Adjustments
Before letting the kids have at it, do a comprehensive test run. Climb, swing, and slide to identify any areas that may need additional adjustments or enhancements. This step is crucial for ensuring that everything is as secure and stable as possible.
Make the necessary tweaks if anything feels loose or out of place. Confirm all moving parts operate smoothly, then give yourself a pat on the back. You’ve built an incredible playset!
Maintenance Tips
Maintaining your playset ensures it lasts for years. Regular checks and simple maintenance can go a long way in preserving its functionality and safety. Some tips include:
- Consistent Inspections: Periodically check for any loose hardware or wear and tear.
- Weather Protection: Apply a weather-resistant sealant to wooden parts to protect against the elements.
- Lubricate Moving Parts: Lubricate swings and hinges to keep them operating smoothly.
- Replace Worn Parts: Promptly replace any worn or damaged components to ensure safety.
- Clean Regularly: Keep the playset clean by washing it down and removing any debris.
Conclusion
There you have it, the ultimate guide to Wing-N-Slide playset assembly. We hope this guide makes your assembly process as smooth as possible. Have questions or need assistance? contact us by phone # 801-405-3954 or request a free quote.


