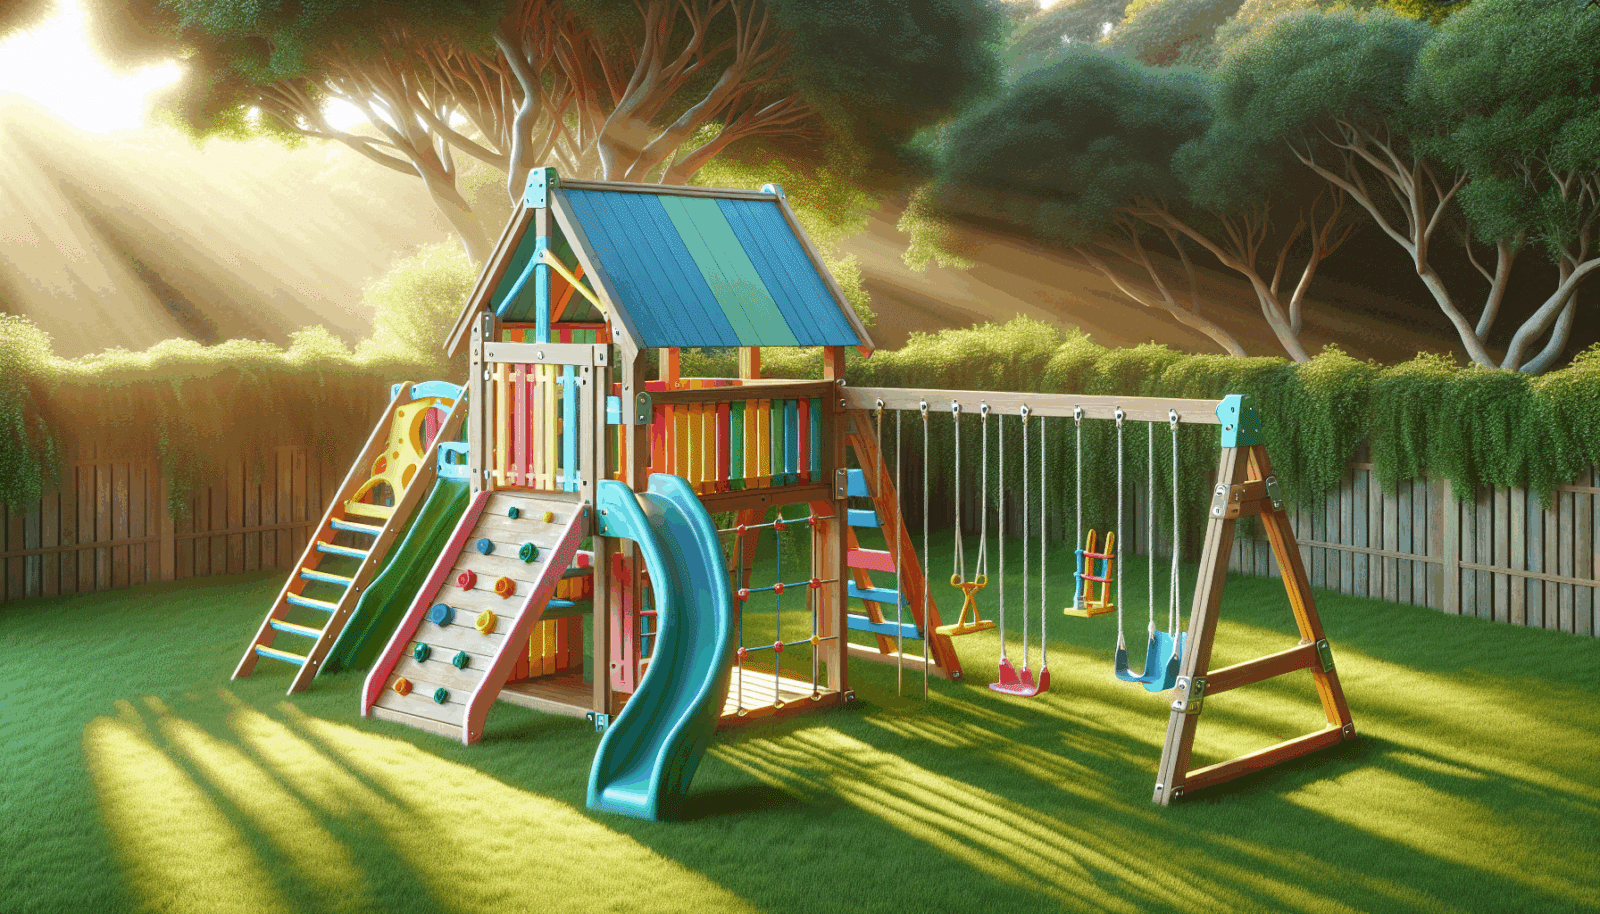
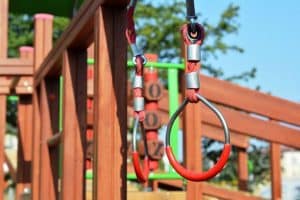
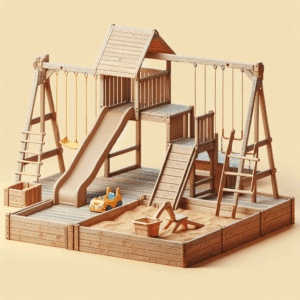
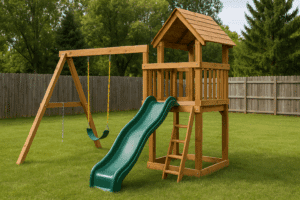
If you’re looking to transform your backyard into a paradise for your kids, assembling a yardcraft playset is a fantastic choice! At Utah Playset Builders, we understand that piecing together your playset can feel daunting. That’s why we’ve crafted this comprehensive guide full of tips and tricks to make the process smooth and enjoyable. Here, you’ll discover how our expertise can help homeowners like you create the ultimate play area. Let’s dive in!
Contents
Planning Your Playset Location
Choosing the right spot for your playset sets the foundation for a fun and safe play environment. Start by surveying your yard. Look for a flat area without obstacles like tree roots or rocks. This prevents uneven setups and potential tripping hazards.
We recommend considering visibility from your home. You’ll want to keep an eye on the kids easily. Make sure there’s enough space around the playset for running and playing. This will ensure your play area is not only delightful but secure too.
Gathering Your Tools
Before diving into the assembly, ensure you have all the essential tools on hand. A few commonly needed items include a drill, wrench, and screwdriver. Having these ready will save you time and potential frustration.
Additionally, check that you have the YardCraft instruction manual and a complete list of parts. This double-check ensures you’re ready to build without interruptions, keeping the process seamless and efficient.
Unboxing and Inventory Check
Once you have your location and tools ready, it’s time to unbox your playset. Carefully open each package and lay out all the parts. This not only helps with organization but also ensures nothing is missing.
Take a moment to do a quick inventory check. Match each piece with the parts list in the instruction manual. Spotting a missing item early can save a headache later on and allows you to contact us if anything needs replacing.
Understanding the Instructions
Yes, instruction manuals can feel overwhelming! However, they’re your best friend during assembly. Take time to read through the entire manual once before beginning. This provides an overview of the process.
Don’t hesitate to mark certain steps or sections that seem challenging. This preparation empowers you to assemble with confidence and helps anticipate any tricky parts.
Starting with the Base
The base is crucial as it supports the entire structure. Begin by aligning and securing the foundational elements. Use a level to ensure everything is even. This will prevent wobbling and enhance stability during play.
Following the manual’s specifications, attach the base pieces securely. Keep double-checking with a leveler as you proceed, ensuring a steadfast stepping stone to the rest of the build.
Building Upwards: The Main Structure
With the base secured, continue assembling the main structure. This typically includes walls and roofs. Secure each part tightly to maintain structural integrity. Work methodically, following the order in the instructions to avoid any mishaps.
It’s an exciting step as you see the playset come to life. Remember, patience is key. Take your time and ensure everything fits precisely as you progress upwards.
Attaching Special Features
Time to add those fun elements! Whether it’s slides or swings, this step is where your playset truly becomes an adventure land. Be particularly attentive to safety here. Double-check all connections and hardware for security.
Follow the specific instructions for each feature. These components often have additional safety guidelines to keep playtime secure and worry-free.
Ensuring Safety and Stability
Once assembly is complete, perform a thorough safety check. This includes examining all bolts and screws to ensure they’re tightly secured. Spend extra time checking the elements that will experience the most use.
A solid stability check involves gently shaking the structure to confirm its firmness. This final step reassures you of the safety and long-term durability of your playset.
Maintenance Tips
To keep your playset in top condition, regular maintenance is key. Here are five tips:
- Regularly inspect the hardware for any loosening and tighten as needed to maintain structural integrity.
- Clean the surfaces to prevent wear from dirt and grime accumulating, keeping it visually appealing.
- Check for splinters or wear on wooden parts periodically, sanding when necessary to avert potential injuries.
- Reapply stain or sealant every few years to protect wooden structures from weather damage.
- Test moving parts like swings and slides to ensure they operate smoothly and safely.
Adhering to these tips prolongs your playset’s lifespan and ensures it remains a fun spot for your family.
Join the Fun!
Congratulations on successfully assembling your YardCraft playset! Now it’s time to sit back, relax, and watch your kids enjoy their new adventure zone. Capture this moment and relish the satisfaction of a job well done.
If you encounter any challenges during assembly, remember, at Utah Playset Builders, we’re just a call away to help. Your satisfaction and your child’s happiness are our top priorities.
For expert advice or to schedule a professional assembly, contact us at 801-405-3954 or request a free quote.


