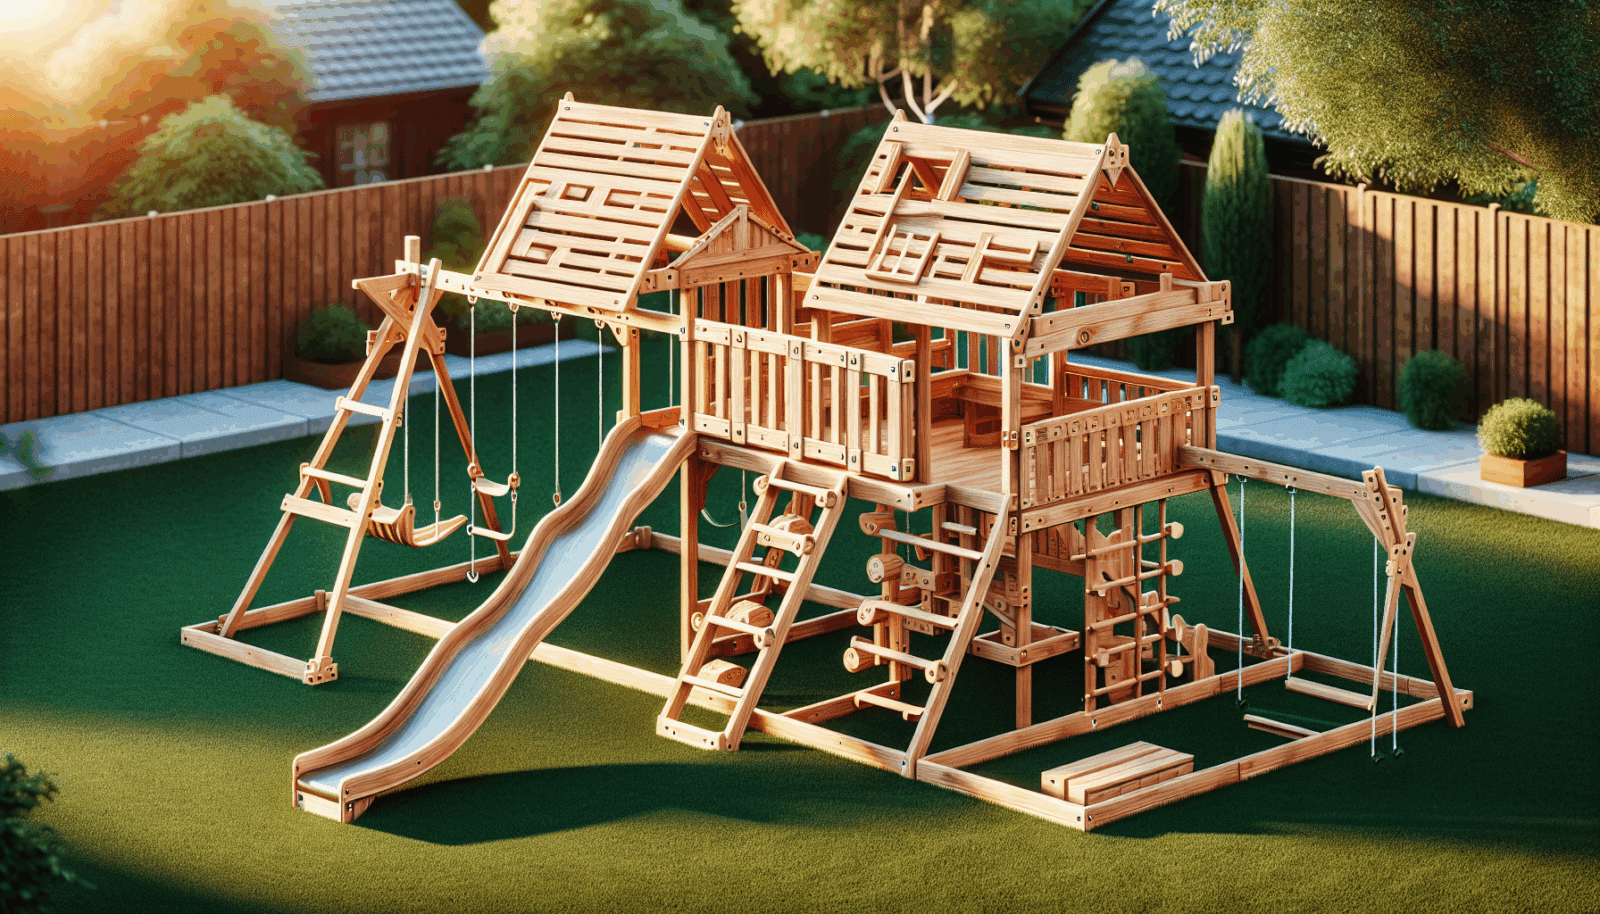
At Utah Playset Builders, we know that assembling a playset can seem like an overwhelming task. But worry not! This blog post is your ultimate guide to mastering the assembly of your Creative Cedar Designs playset. Our aim is to transform hours of confusion into fun and creativity. Whether you’re a DIY pro or just starting out, these tips and tricks will empower you every step of the way.
Contents
Understanding Your Playset Kit
Before diving into the assembly, let’s take a moment to familiarize ourselves with the contents of your playset kit. Imagine it as a treasure trove of fun – each piece is essential to the final masterpiece. Open the box and take inventory of all parts and tools included. This way, you won’t face unexpected surprises later.
Once you’ve checked everything against the manual, you’ll have a clear vision of what’s ahead. It’s like preparing for a journey; knowing your starting point is half the battle. This step ensures you won’t miss anything crucial during the assembly process.
Setting Up Your Workspace
A well-prepared workspace is key to a smooth assembly process. Choose a flat, open area where you can spread out all the components. This will make maneuvering much easier and prevent any damage to the parts.
Make sure you have adequate lighting and space to move around comfortably. A tidy and organized setup will significantly decrease the time spent searching for tools or parts, allowing you to focus on the fun part – building your playset!
Decoding the Instruction Manual
The instruction manual is your best friend throughout the assembly. While it may seem daunting with all those pages and diagrams, take a deep breath and relax. Approach it as a puzzle waiting to be solved.
Start by reading through the entire manual to get a holistic view of the playset’s structure. This preliminary reading will help you visualize the end result, making each step easier to follow as you progress.
Essential Tools for the Job
Having the right tools on hand can make a world of difference. While your playset kit might include some basic tools, it’s often beneficial to use your own for better grip and efficiency. Here’s a handy list of must-have tools:
- Power Drill: Speeds up the process of securing screws and ensures they’re tightly fixed.
- Rubber Mallet: Perfect for aligning parts without causing damage.
- Socket Wrench: Helps in tightening bolts effectively and with ease.
- Level: Ensures your playset is perfectly balanced and safe to use.
- Tape Measure: Essential for precision and accuracy in your assembly.
Safety First
Safety should always be the number one priority during assembly. Wear protective gloves and glasses as you work to prevent any injuries from sharp edges or flying debris.
Ensure that the area where you’re assembling the playset is free from obstacles and children. This keeps everyone safe and allows you to focus entirely on the task at hand, ensuring the playset is built to perfection.
The Art of Piece Organization
Organizing your parts before assembly starts can save a ton of time. Lay out all components and label them according to the instruction manual. This methodical approach can drastically streamline your process.
Think of it as setting the stage before a grand performance. With everything in its place, you’ll find that following the instructions becomes much more straightforward, causing less stress and more enjoyment.
Teamwork Makes the Dream Work
Gather your team of family or friends to make the assembly a fun group project. Not only does it make the task more enjoyable, but it also speeds up the process.
Working together brings in different perspectives and ideas, turning what may seem like a daunting task into a collaborative and rewarding experience. Remember, sharing these moments is what makes them special.
Step-by-Step Assembly Process
It’s crucial to follow the assembly instructions step by step without skipping ahead. Each part of the process is designed to build on the previous one, ensuring stability and safety.
By maintaining this steady pace, you avoid mistakes that could cost time and effort to correct. This disciplined approach will give you a smoother and quicker completion.
Troubleshooting Tips
Encountered an unexpected problem? Don’t worry; it can happen to the best of us. Common issues include misaligned parts or missing screws, but these are easily fixable with a little patience.
Review the manual to ensure everything is aligned as it should be, and check all bags for any misplaced screws. When in doubt, the internet is full of forums and videos; sometimes, all you need is a fresh perspective.
Final Touches and Inspection
Once assembly is complete, take a step back and admire your handiwork! But before letting the kids loose, inspect every part of the playset to ensure it’s secure and stable.
Give each area a gentle shake to test its sturdiness. Preparing the playset for its first playful adventure ensures peace of mind that your kids can enjoy it safely.
Remember, we’re always here to assist and make your playset dreams come true. For questions or to start your next playset project, contact us by phone at 801-405-3954 or request a free quote.


