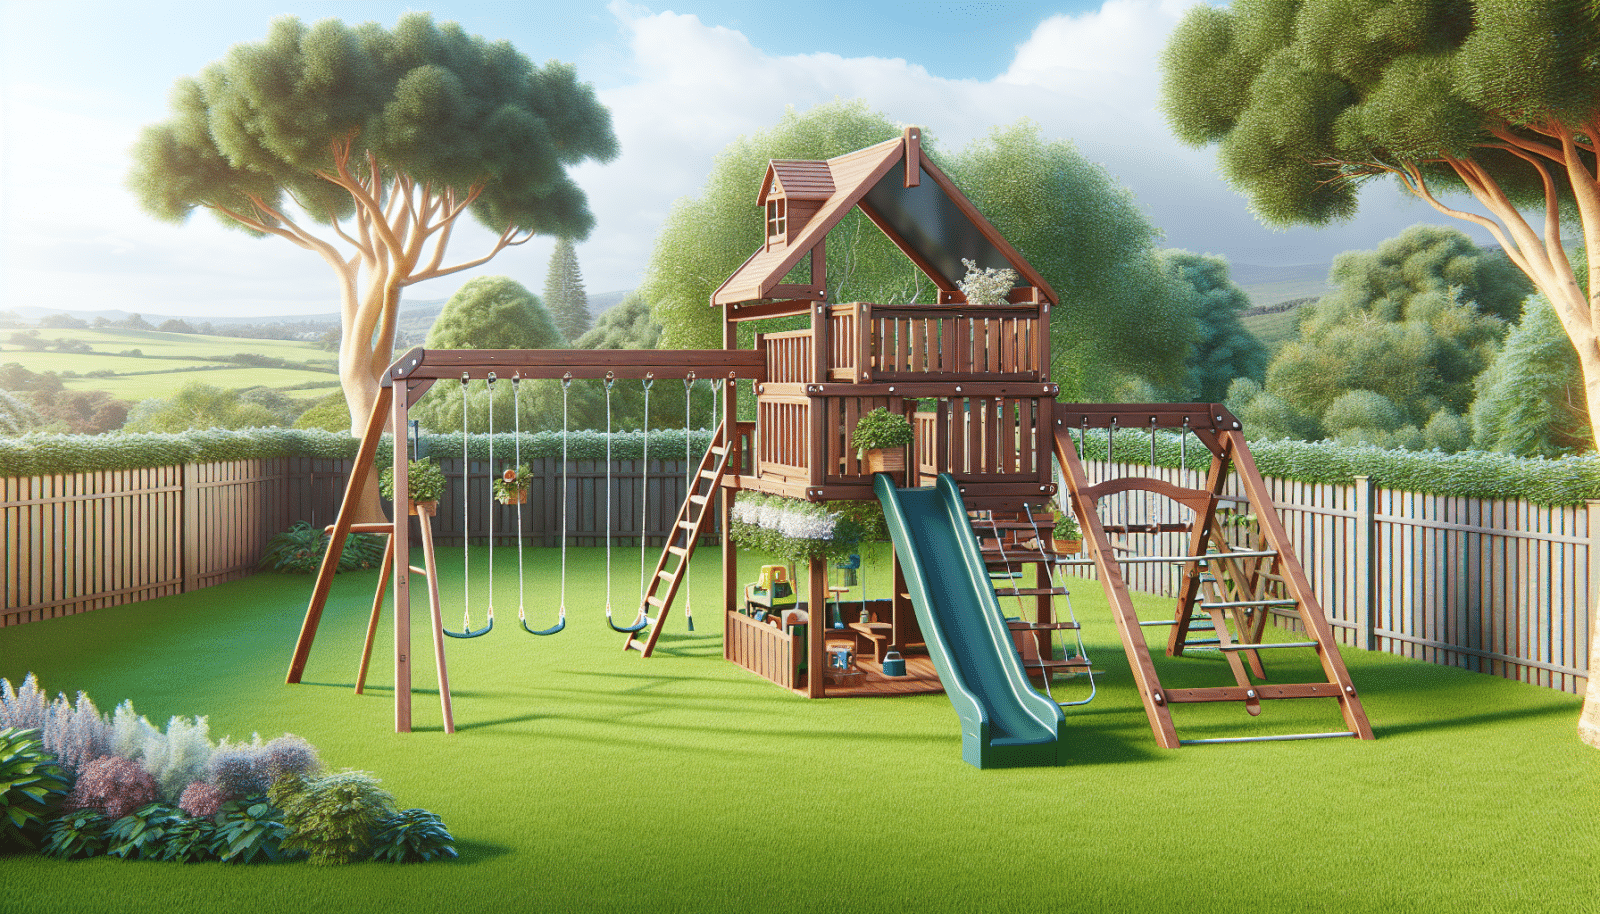
We get it – assembling a playset for the first time can feel like a daunting task. But fear not, Utah Playset Builders is here to guide you every step of the way! This comprehensive guide will not just simplify the process but also transform you into a confident playset assembler. Ready to become a hero in your backyard? Let’s dive in!
Contents
- 1 Getting Started: Inventory Check
- 2 Preparing Your Workspace
- 3 Key Tools You’ll Need to Assemble Your Playset
- 4 Reading the Assembly Instructions
- 5 Assembling the Support Structure
- 6 Attaching the Swings and Slides
- 7 Safety First: Tips for a Secure Playset
- 8 Finishing Touches
- 9 Troubleshooting Common Issues
- 10 Tips From the Pros
- 11 Wrapping It Up
- 12 Final Thoughts
Getting Started: Inventory Check
Before you even think about lifting a screwdriver, conduct a thorough inventory check. Lay out all the parts that came with the playset. Trust us, it’s better than realizing a part is missing halfway through assembly.
Next, take a good look at the instructions. While it might seem tedious, a solid understanding will make your job much easier. Plus, it’s always exciting to see what the final result will look like!
Preparing Your Workspace
Creating a clean and organized workspace is essential to hassle-free assembly. Clear the area of any debris or obstacles, and make sure you have plenty of space to move around.
Gather all necessary tools before you start assembly. Having everything within arm’s reach will save you countless trips back and forth.
Key Tools You’ll Need to Assemble Your Playset
Ensuring you have the right tools can make or break your playset assembly experience. Here are the essentials:
- Screwdrivers: A mix of Phillips and flathead screwdrivers will cover all bases.
- Rubber Mallet: Perfect for installing components without causing damage.
- Measuring Tape: Precision is key, and a good measuring tape ensures every part fits as it should.
- Level: Keeping your playset level is crucial for both safety and aesthetics.
- Socket Set: A reliable socket set will make tightening bolts a breeze.
Reading the Assembly Instructions
Let’s be honest – most of us ignore the manual. However, when assembling a playset, the instruction booklet is your best friend. Scan it to get a sense of the steps involved.
Highlight crucial sections, and don’t hesitate to make notes. Visualization is key, so take your time understanding each step before you begin.
Assembling the Support Structure
The support structure is the backbone of your playset, so it’s essential to get it right. Start by laying out the base and securing it firmly into the ground.
Wooden playsets should be anchored deeply to ensure longevity and safety. Once the base is secure, you can start building upwards, step by step.
Attaching the Swings and Slides
This is where it gets fun! Attaching the swings and slides can be the most exciting part of the assembly process. Always ensure that these components are securely fastened to prevent any accidents.
Double-check all bolts and screws for tightness. Safety checks will be an ongoing part of your assembly journey.
Safety First: Tips for a Secure Playset
Your child’s safety is of paramount importance. Here’s how you can ensure your playset is as safe as possible:
- Regular Inspections: Periodically check for loose screws or bolts to maintain structural integrity.
- Soft Ground Cover: Use mulch or rubber mats under swings and slides to cushion falls.
- Proper Anchoring: Make sure the playset is anchored deeply into the ground for stability.
- Weight Limits: Adhere to manufacturer-specified weight limits to avoid over-stressing the playset.
- Educate Your Kids: Teach your children how to use the equipment safely to prevent accidents.
Finishing Touches
Once everything’s assembled, take a step back and admire your masterpiece. But wait, you’re not quite done yet! Add some finishing touches like rust-proofing paint or water-resistant seals to extend the life of your playset.
A final walkthrough will ensure everything is up to standard. Make any last-minute adjustments and additions as needed.
Troubleshooting Common Issues
Sometimes things don’t go as planned, and that’s okay! Misaligned parts or missing screws can delay the process, but they’re not deal-breakers.
For any missing parts, contact the manufacturer directly. For other issues, a little ingenuity will often see you through. When in doubt, call in professional help.
Tips From the Pros
Even if you’re a complete novice, following these professional tips can make your playset assembly a smooth ride:
- Team Up: Have a friend or family member assist you to make the job easier and more fun.
- Stay Grounded: Before elevating parts, ensure the base is absolutely secure.
- Small Steps: Focus on one small section at a time to avoid feeling overwhelmed.
- Check Twice: Measure and double-check before making permanent fixes.
- Stay Calm: Don’t rush the process; taking your time will yield the best results.
Wrapping It Up
You did it! Completing a TSC playset assembly is no small feat, especially for beginners. Stand proud of your work and picture the many fun-filled days your kids are going to have on their new playset.
Remember, maintenance is key to longevity. Keep routine checks on your playset to ensure it remains safe and enjoyable for years to come.
Final Thoughts
If you need further assistance or would like a professional touch, don’t hesitate to contact us at Utah Playset Builders by phone # 801-405-3954 or request a free quote.


