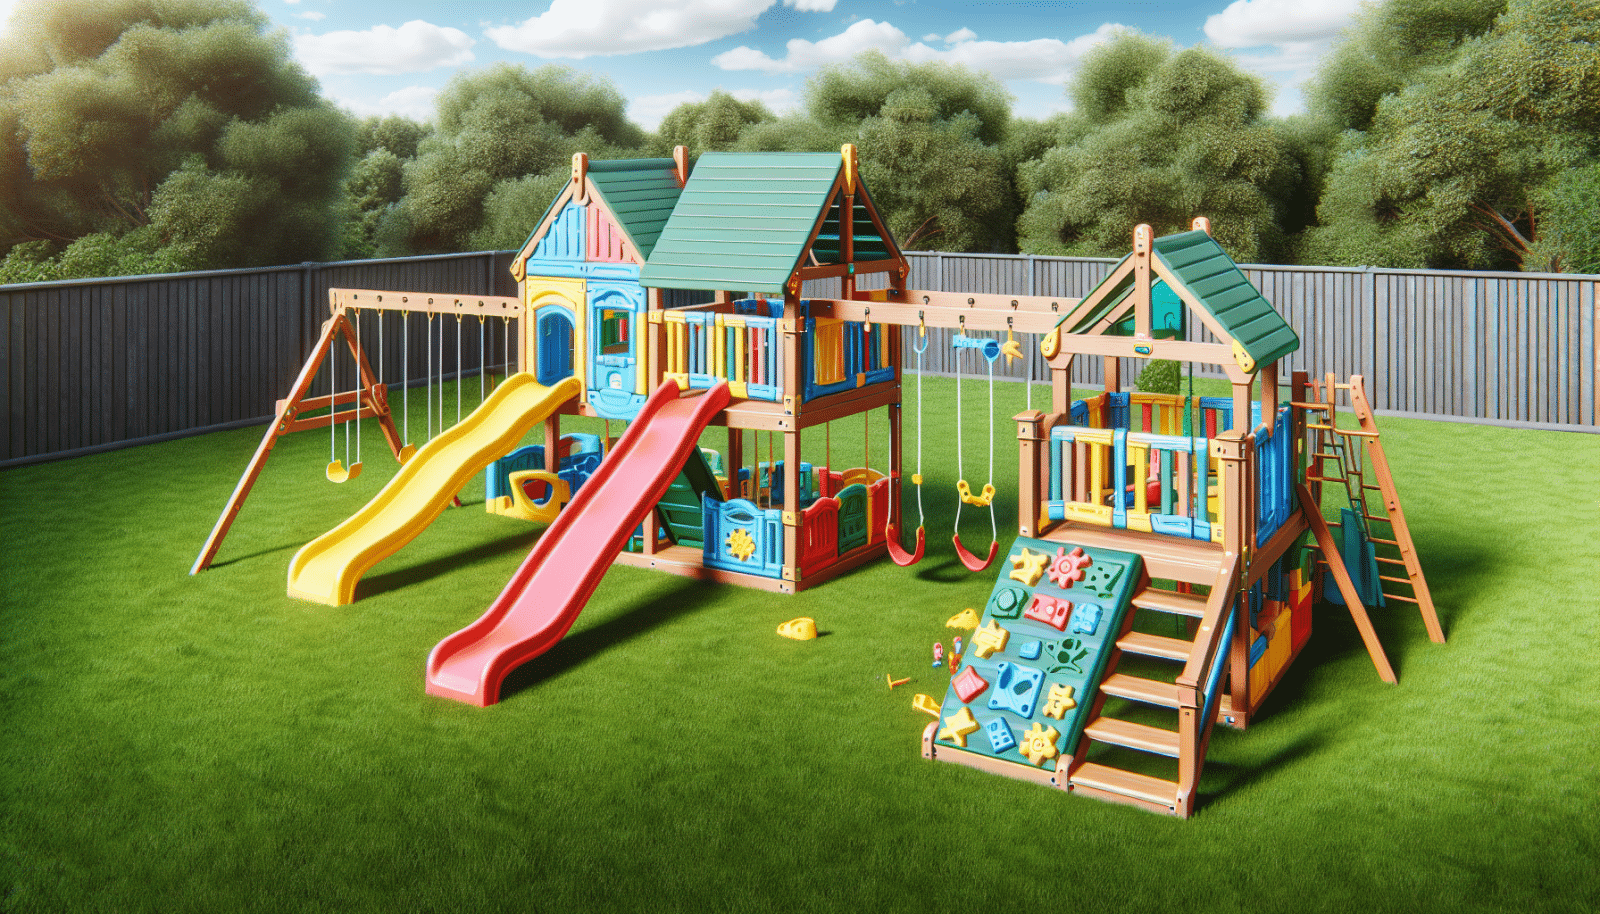
yardline playsets are a fantastic addition to any backyard, providing endless fun and activity for your kids. However, assembling these playsets can often feel like tackling a giant puzzle! Fortunately, we’ve created this comprehensive guide specifically to help homeowners like you in tackling the assembly process with ease and confidence. Our expert team at Utah Playset Builders is here to walk you through every step, ensuring a smooth and successful playset assembly experience.
Contents
- 1 Understanding the Yardline Playset Package
- 2 Preparation and Planning
- 3 Foundation: Setting the Stage Right
- 4 Tools You Will Need
- 5 Step-by-Step Assembly Process
- 6 Safety First: Secure Assembly Practices
- 7 Incorporating Fun Additions
- 8 Maintenance Tips for Longevity
- 9 What to Avoid During Assembly
- 10 Conclusion
Understanding the Yardline Playset Package
Before you dive into the assembly process, it’s crucial to familiarize yourself with what’s contained in your Yardline playset package. Our packages come complete with all necessary components, including beams, slides, swings, and more. Make sure to take inventory of all items so you’re not caught off guard midway through assembly.
Missing components can slow down your project and even derail it. By understanding each part and where it fits, you’ll have a more seamless experience. This preparation sets the stage for actual assembly and ensures you have everything you need.
Preparation and Planning
Planning is everything when it comes to building your Yardline playset. Survey your yard to find the most suitable area ensuring there’s ample room for safety and play. Measuring the designated area is a step you simply can’t overlook.
Mapping out a detailed plan helps visualize how the final structure will look in your backyard. It will also guide your step-by-step assembly, ensuring you build the playset in the correct order without omitting any vital elements. Before you start assembling, gather all your tools in one place to avoid unnecessary trips.
Foundation: Setting the Stage Right
The foundation for your playset is like the canvas for a masterpiece. Ensure it’s stable and secure. Whether it’s grass, mulch, or concrete, the choice of base can affect the longevity and safety of your playset.
Level ground reduces stress on the playset structure, minimizing any wobbling and increasing stability. You might want to consider laying landscape fabric as a preventative measure against weeds before you lay down your chosen ground cover.
Tools You Will Need
Having the right set of tools is pivotal to your assembly project. Here’s a list of essential tools that will make the process easier and smoother:
- Rubber Mallet: Useful for securing elements without damaging the wood. This tool ensures each part fits snugly into place.
- Power Drill: Speeds up screwing processes significantly, preventing any hand fatigue from manual effort and ensures all fasteners are securely in place.
- Level: Crucial for ensuring your playset is level. This avoids an unsteady structure that could be potentially unsafe for kids.
- Ratchet Set: Makes tightening bolts much easier, adding extra safety to the playset structure. It’s perfect for those hard-to-reach areas.
- Measuring Tape: Ensures that your cuts and placements are accurate, aligning everything as per your planned layout.
Step-by-Step Assembly Process
Are you ready to bring your backyard dreams to life? Begin by setting up the base structure, which usually consists of the main beams. Assemble these parts on level ground to maintain structural integrity. Once you’ve completed this stage, you’re set for the engaging part of attaching additional play features.
Remember to follow the manual closely. Each section of the yardline playset builds upon the previous, requiring precision and care. Double-check every connection point, confirming everything is secure and fit for active play.
Safety First: Secure Assembly Practices
Safety should be your top priority during assembly. Ensure each bolt and screw is tightly fastened. Loose connections can lead to accidents and reduce the lifespan of your playset.
Use a torque wrench to get the right amount of tension. Double-feel every handrail and foothold; they must support more than just the intended weight. If you’re unsure, our team is here to ensure every part is safely installed.
Incorporating Fun Additions
A playset isn’t just about swings and slides; consider adding custom elements for uniqueness. Tire swings, tunnels, and rock walls create extra avenues for adventure and play.
You can personalize these additional elements to match your child’s preferences. This customization opportunity encourages more playtime and interaction with others, keeping kids moving and exploring different levels of adventure in their very own backyard.
Maintenance Tips for Longevity
Once your playset is assembled, staying committed to regular maintenance ensures it remains safe and enjoyable for years to come. Check your playset annually for any signs of wear or loose components.
Incorporate a seasonal maintenance schedule; before the peak play season, tighten screws, and oil any metal parts to prevent rust. Keep an eye out for splinters in the wood, sanding them to maintain smooth surfaces and avoid any splinters.
What to Avoid During Assembly
Avoid common pitfalls like starting assembly late in the day. Completing your project all in one go is unlikely.
Fastening pieces too tightly early on can lead to wood cracking, while loose bolts can compromise the playset’s stability. It’s often helpful to have an extra pair of hands, so don’t hesitate to ask for help if need be.
Conclusion
Bringing joy to your backyard doesn’t stop at assembly. For expert advice and seamless assembly service, contact Utah Playset Builders. Reach us by phone at 801-405-3954 or request a free quote.


